

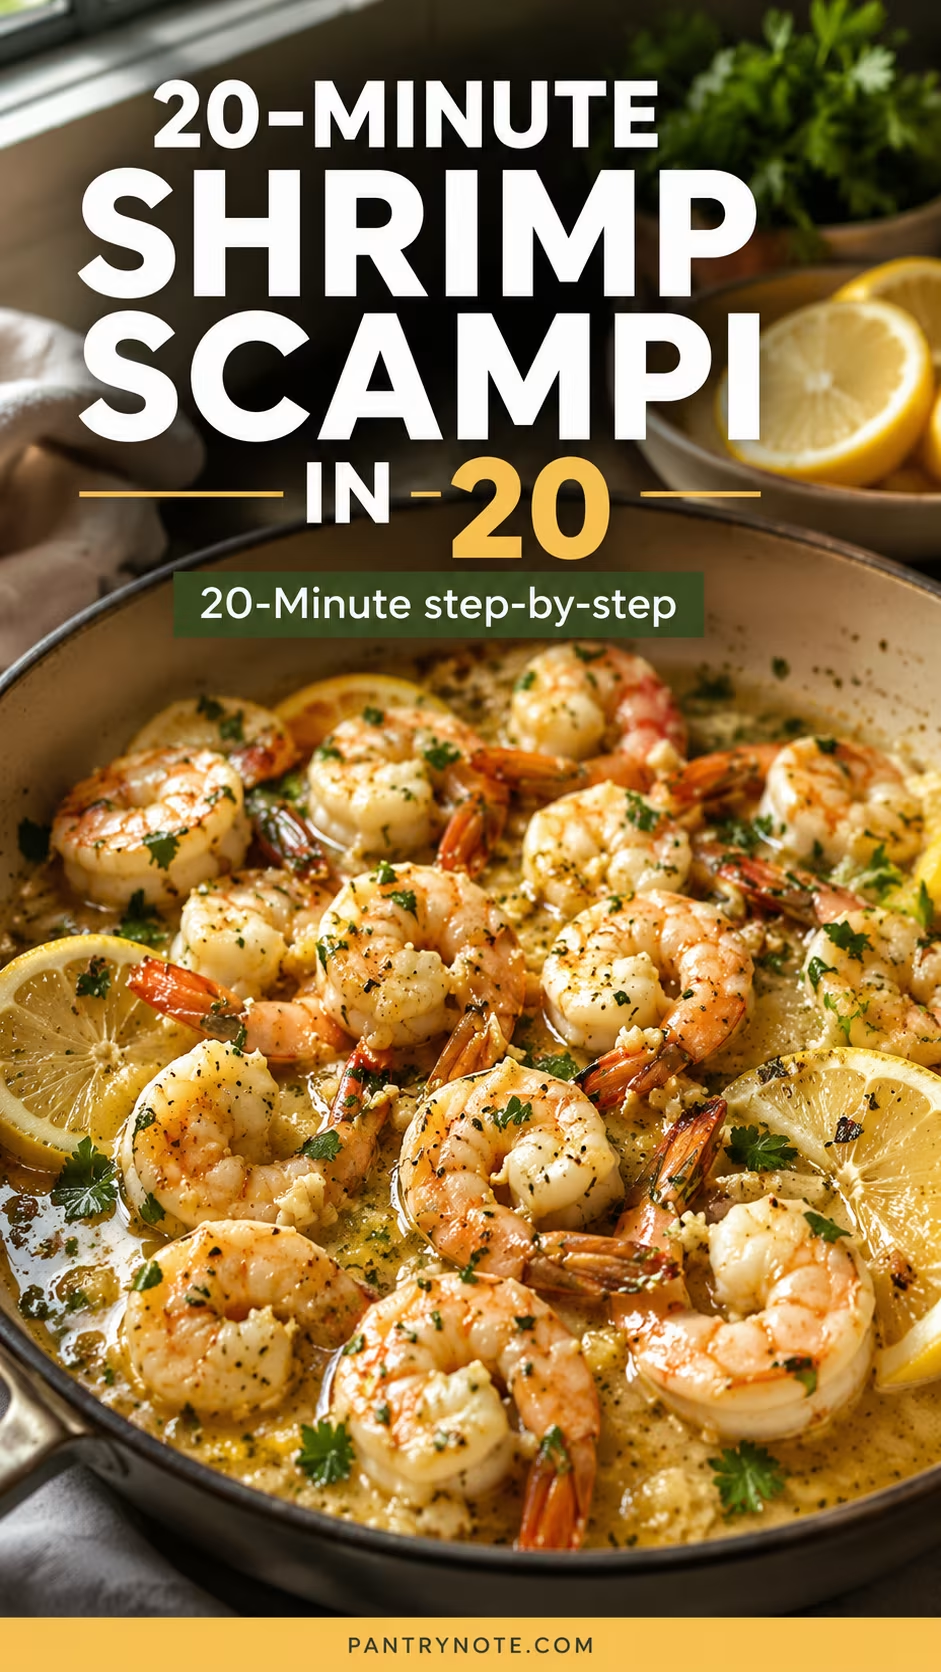
20-Minute Garlic Butter Shrimp with Rice: A Weeknight Recipe That Tastes Better Than Takeout
Five ingredients, twenty minutes, and one number 120F separate tender, sweet shrimp from rubbery. Here is the technique, the timing, and the off-heat butter sauce.
A plate of 20-minute garlic butter shrimp with rice lives or dies on a single number: 120°F. Pull the shrimp at that internal temperature and they stay sweet, tender, and just barely opaque.
Push them to the USDA "fully cooked" benchmark of 145°F and you get the rubbery, eraser-textured shrimp most home cooks resign themselves to. This recipe is built around that fifteen-degree window, plus one scheduling trick that gets the rice and the shrimp done at the same moment instead of leaving one cold while you finish the other.
Five real ingredients carry the whole dish: shrimp, garlic, butter, lemon, and a little parsley. There's no cream, no stock cube, no jarred sauce hiding a weak technique. What follows is the method, the food science behind each step, the mistakes that wreck the dish, and the variations worth knowing once you can cook the base version in your sleep.
Why does shrimp turn rubbery, and how do you stop it?
Shrimp is almost pure lean protein, and lean protein has no fat or connective tissue to buffer it against heat. As the muscle fibers warm, they contract and squeeze out moisture.
A scallop or a piece of pork shoulder forgives a few extra minutes; shrimp does not. The transition from tender to tough happens in well under a minute on a hot pan.
The visual cue is the shape. A raw shrimp lies almost straight.
As it cooks it relaxes into a loose C. Keep heating and that C tightens into a closed O: an O-shaped shrimp is already overcooked, its fibers wrung dry.
Cook to the C and stop.
If you want a number instead of a shape, an instant-read thermometer pulled at 120°F leaves the shrimp just opaque and still succulent. The flesh keeps climbing several degrees off the heat, so by the time it hits the plate it has effectively finished cooking while staying tender.
The USDA's safe-minimum chart lists 145°F or "flesh opaque and pearly" for shrimp; carryover from a 120°F pull plus residual pan heat gets you close while keeping the texture. If you're cooking for someone immunocompromised, pregnant, or very young, cook to the full 145°F and accept slightly firmer shrimp.
The practical rule: high heat, short time, and your eyes on the curl, not the clock.
What's the fastest way to get tender shrimp every time?
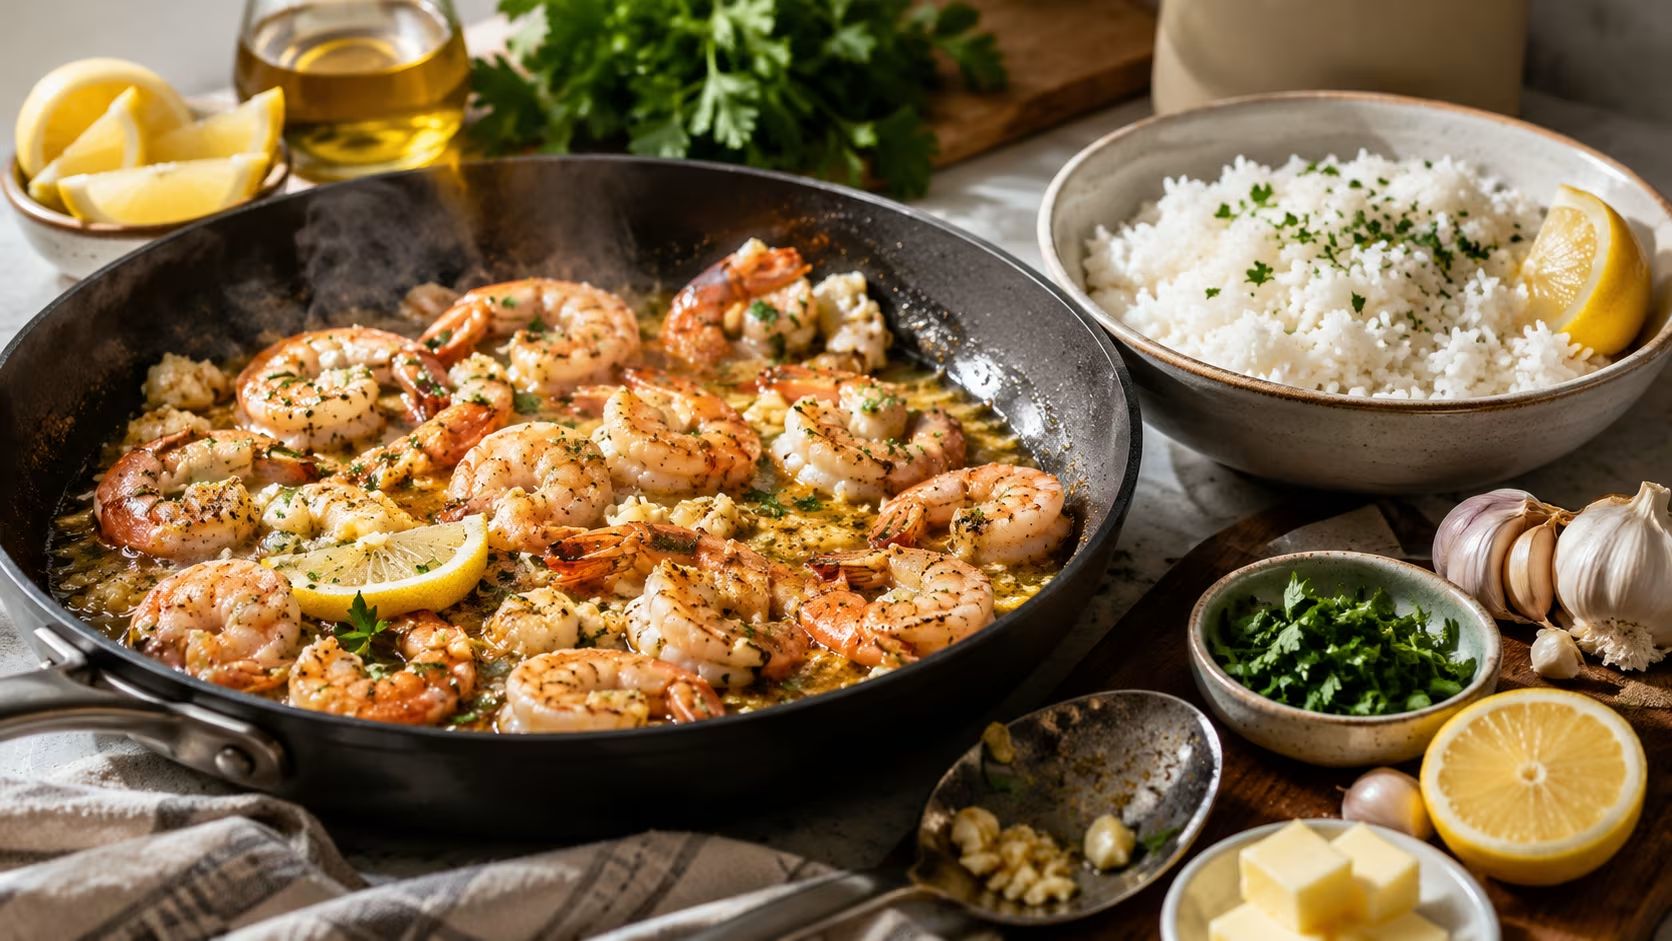
Start dry. Pat the shrimp aggressively with paper towels until the surface feels tacky rather than wet.
Surface water is the enemy of browning: it holds the shrimp's exterior at 212°F until it boils off, and below that temperature you get steaming instead of searing. Dry shrimp hit the fat and start coloring almost immediately.
Then get the pan genuinely hot before the shrimp go in. Melt two tablespoons of butter with two tablespoons of olive oil over medium heat and bloom the minced garlic for about 60 seconds, until it smells sweet and nutty but hasn't colored. Garlic burns fast and turns acrid above a gentle sizzle, so this happens before the pan is screaming hot, not after.
Now raise the heat to medium-high and lay the shrimp down in a single layer. Don't move them.
Ninety seconds on the first side builds a thin seared crust; flip, then 60 to 90 seconds on the second. The instant they curl into that C and read 120°F, the pan comes off the burner.
The reason most home shrimp fails is crowding. Pile a pound of shrimp into a 10-inch skillet and they shed enough water to drop the pan temperature below the searing threshold, and the whole batch poaches in its own juices.
Cook in two batches if your pan is small. The thirty seconds you "lose" buys you the difference between gray, weepy shrimp and shrimp with actual color and bite.
How do you cook the rice so it's ready at the same time?
Rice is the quiet half of this dish, and the trick is to start it first so it cooks and rests while you handle everything else. Jasmine rice is the default here for its soft, slightly floral grain, but any long-grain white rice works on the same ratio.
Rinse one cup of rice under cold water, swishing and draining three or four times until the water runs nearly clear. That rinse removes loose surface starch, the stuff that otherwise gloms the grains into a sticky mass.
Combine the rinsed rice with 1.75 cups of water and a quarter teaspoon of salt in a small pot, bring it to a boil, then drop the heat to its lowest setting, clamp on a lid, and leave it strictly alone for 15 minutes. No peeking; lifting the lid vents the steam that's doing the cooking.
When the timer goes, pull the pot off the heat and let it sit, still covered, for five more minutes. This rest is not optional.
During cooking, moisture distributes unevenly (wetter at the bottom, drier at the top), and the off-heat rest lets it equalize so the grains finish fluffy instead of gummy. Fork it through right before serving.
The timing lines up cleanly: rice goes on, you spend the 15 minutes drying and seasoning shrimp and mincing garlic, and the rice's five-minute rest is exactly the window you need to sear the shrimp and build the sauce.
How do you build the garlic butter sauce without breaking it?
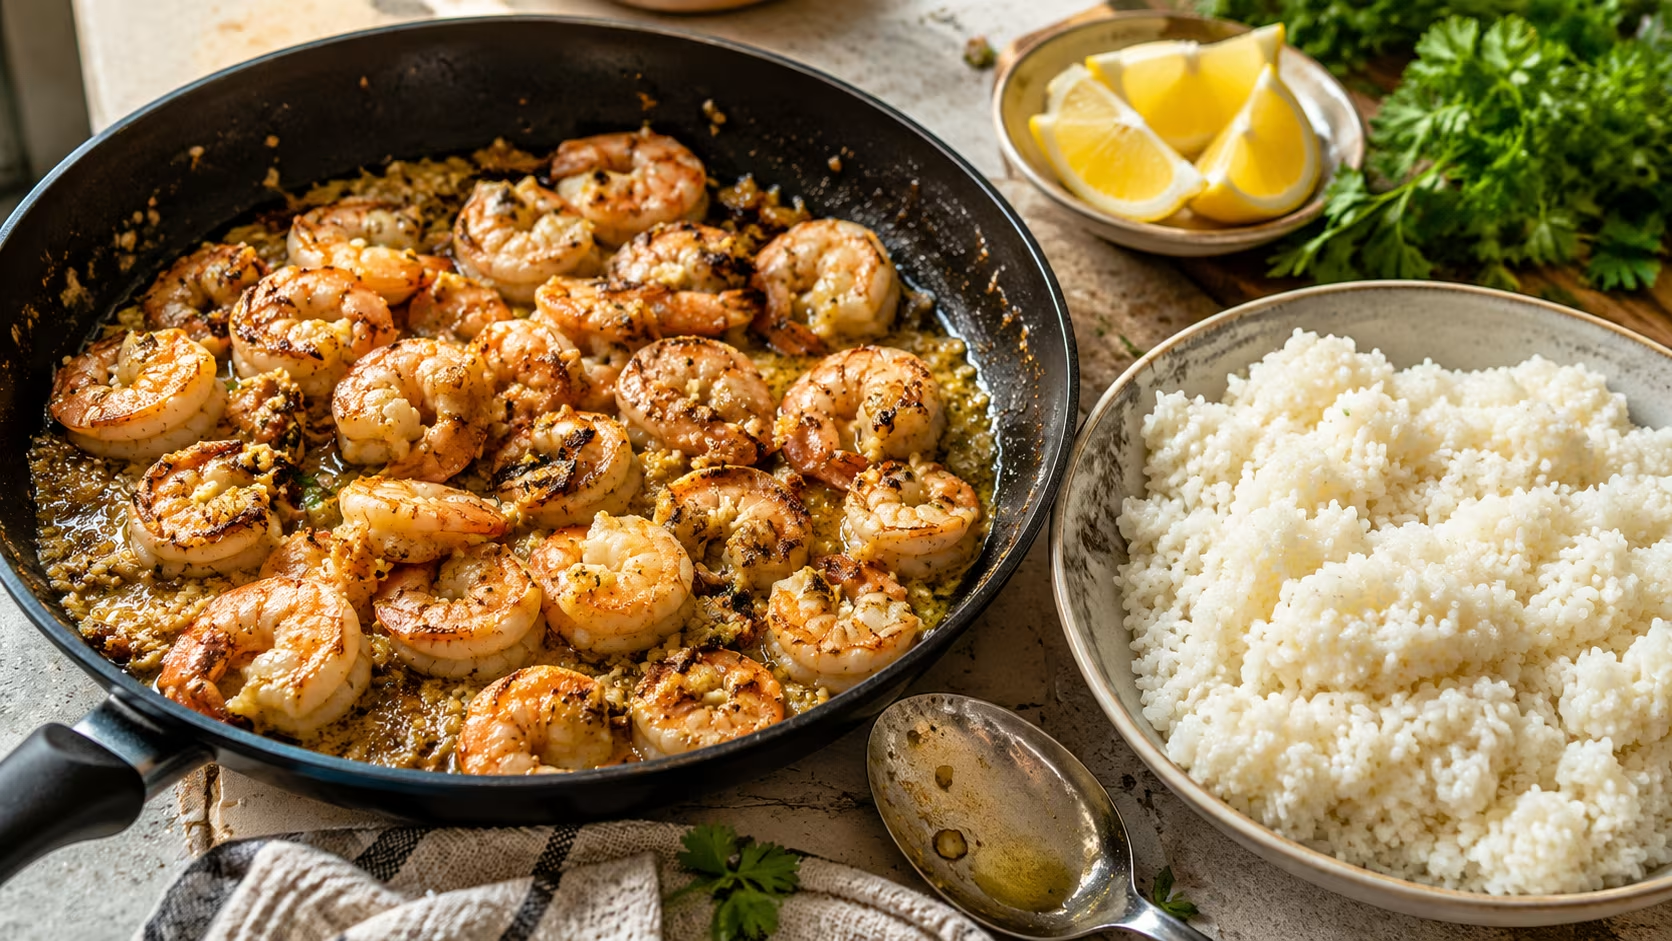
The sauce is an emulsion of melted butter and lemon juice, loosely held, and it breaks if you abuse it with heat or rush the acid. Here's the sequence that keeps it glossy.
Once the shrimp hit 120°F, take the pan off the burner entirely. Off the heat, add the remaining three tablespoons of butter and swirl the pan so the residual warmth melts it slowly into a thickened, slightly creamy sauce rather than a thin, separated puddle of oil.
Butter is roughly 15% water, and that water, whisked into the melting fat, is what gives the sauce body. Boil it hard and the emulsion shatters into greasy and watery layers.
Add the lemon juice last, after the butter is in and the pan is off the heat. Acid added early, over high heat, curdles the emulsion and can also toughen the shrimp surface further.
Stir in the lemon, the parsley, and the last of the salt, then toss the shrimp to coat. Taste and adjust: shrimp needs more salt than people expect, because salt is what makes its natural sweetness read on the palate.
A note on the fat ratio: butter alone scorches because its milk solids burn around 250°F. The two tablespoons of olive oil at the start raise the smoke point of the cooking fat so you can sear the shrimp hot without black flecks, while the butter added at the end carries the flavor. Two fats, two jobs.
What are the most common garlic butter shrimp mistakes?
Wet shrimp. The single biggest one. Water on the surface guarantees steaming and prevents any sear. Dry until tacky.
A cold pan. Shrimp dropped into a lukewarm skillet release liquid and braise. The fat should shimmer before the shrimp go in.
Crowding. Two batches beat one crowded pan every time. Crowded shrimp steam.
Burnt garlic. Bloom it gently for a minute over medium heat, before you crank the burner for the shrimp. Scorched garlic turns the whole sauce bitter.
Lemon too early. Acid breaks the butter emulsion and dulls the color. It goes in at the very end, off the heat.
Overcooking by habit. If you've always cooked shrimp until it's firm, you've always overcooked it. Trust the C-curl.
What can you swap to change the dish completely?
The base recipe is a platform. A few directions, each a real shift rather than a garnish:
Spicy. Stir a tablespoon or two of chili crisp or gochujang into the finished butter sauce. The chili oil's fat melds with the butter; the funk plays against the shrimp's sweetness.
Cajun. Toss the dried shrimp with a tablespoon of Cajun seasoning before they hit the pan so the spices toast in the fat. Skip the lemon, finish with a squeeze from the rendered pan butter.
Asian-leaning. Swap the butter-and-olive-oil for toasted sesame oil and a neutral oil, the lemon for lime, and add a tablespoon of soy sauce and a pinch of sugar at the end. Serve over the same rice with sliced scallion.
Coconut. After the shrimp come out, deglaze with a quarter cup of coconut milk and reduce for a minute before returning the shrimp. The result reads almost like a fast curry.
For more on getting that pan-sear right on other proteins, the same dry-surface principle drives searing meat properly; and if you keep a few smart staples on hand, this is exactly the kind of dinner you can build from a real pantry without a grocery run.
How do you buy and thaw the shrimp?
Almost all "fresh" shrimp at the counter was previously frozen and thawed for display, which means buying it frozen and thawing it yourself gives you fresher shrimp and full control over timing. Look for a bag labeled by count: the numbers refer to shrimp per pound. 16/20 (sixteen to twenty per pound) is the sweet spot for this dish: large enough to stay juicy through a quick sear, small enough to cook in 90 seconds a side. Anything labeled "jumbo" or "U/15" works too but needs a few extra seconds.
Buy shell-on if you can be bothered to peel; the shells protect the flesh and can be saved in the freezer for a quick stock. "EZ-peel" bags are already deveined and split along the back, which speeds prep at the cost of a little texture.
Thaw deliberately, not on the counter. The safe method is overnight in the fridge, or, if you forgot, in a bowl under cold running water for 10 to 15 minutes, never warm water, which starts cooking the outer layer and breeds bacteria in the danger zone above 40°F.
Drain and pat dry the moment they're flexible. Skip the deveining anxiety: the dark "vein" is the digestive tract, harmless to eat, removed mostly for looks on larger shrimp.
Can you make it ahead or store leftovers?
This is a last-minute dish by design, but a few components prep ahead. Mince the garlic, measure the butter, and squeeze the lemon earlier in the day so the actual cooking is a five-minute sprint. The rice reheats well with a splash of water under a lid, so cooking a double batch for tomorrow's lunch costs nothing.
Cooked shrimp is less forgiving. It keeps in the fridge for up to three days in a sealed container, but reheating in a pan almost guarantees overcooking, since you're cooking already-cooked protein.
Instead, bring leftovers to room temperature and fold them into the warm rice off the heat, or eat them cold over a salad. The butter sauce will solidify in the fridge and re-melt the instant it touches warm rice.
Freezing cooked shrimp is possible but turns the texture spongy; freeze raw shrimp instead and cook to order.
How do you scale it up for four or more?
The recipe as written feeds two, and scaling it is mostly a pan-size problem, not an ingredient one. Double the shrimp, garlic, butter, and rice, but resist the urge to double the pan time. The cooking is still governed by the same 90-seconds-a-side window per shrimp, and the only thing that changes is how many batches you need.
This is where crowding becomes the make-or-break variable. A single skillet that comfortably sears a pound of shrimp will steam two pounds, because the doubled load dumps twice the moisture and the pan can't recover its heat.
The fix is to sear in two or three batches, holding the finished shrimp on a warm plate, and build the butter sauce once at the end with all the shrimp returned to the pan to toss. Each batch takes only three minutes, so the time cost is small and the texture payoff is total.
Scale the rice on the same 1-to-1.75 ratio of rice to water (two cups of rice to 3.5 cups of water for four) and use a larger pot so the grains have room to steam evenly. The aromatics scale linearly: a clove of garlic per person is a safe rule, and the lemon and parsley get doubled at the finish.
The only thing that doesn't scale is your attention; with more shrimp moving through the pan, the temptation to walk away grows, and that's exactly when a batch tips from C-curl to O-curl. Stay at the stove for the five minutes it takes.
What should you serve with it?
Keep the sides light so the butter sauce stays the star. A simple green salad with a sharp vinaigrette cuts the richness; sautéed spinach with a clove of garlic uses the same flavor base; crusty bread is non-negotiable if you want to mop the pan.
For wine, a dry, high-acid white (Sauvignon Blanc, an unoaked Vermentino, or a dry Riesling) mirrors the lemon and refreshes the palate between bites. A crisp pilsner or a Belgian wit does the same job if you'd rather have beer.
Make this once, paying attention to the curl and the off-heat butter, and it stops being a recipe you follow. It becomes the thing you throw together on a Tuesday when the alternative was takeout, faster than delivery and genuinely better, because you controlled the one variable the restaurant line cook rarely gets right: you pulled the shrimp in time.
 Save
Save
0 Comments
No comments yet — start the conversation below.