

How to Sear Meat Properly: The Maillard Reaction, Pan Choice, and Why Most Home Searing Fails
That brown crust is hundreds of flavor compounds, not luck. Here is the chemistry, the pan that holds heat, the temperature that matters, and the one myth worth forgetting.
The brown crust on a good steak is not decoration: it's hundreds of flavor compounds that don't exist in the raw meat, created by a specific chemical reaction with specific requirements. To sear meat properly you have to give that reaction what it needs: a dry surface, a pan hot enough, and the patience to leave the meat alone.
Most home searing fails on one of those three, and the result is gray, steamed meat with a pale, flavorless exterior. Understanding the chemistry turns searing from a hopeful gamble into a repeatable technique.
This guide explains the Maillard reaction in plain terms, the temperatures that actually matter, which pan to use and why, the dry-surface rule that fixes most failures, and what to do with the flavor stuck to the pan afterward. It also kills the most persistent myth in home cooking, the one about "sealing in the juices."
What is the Maillard reaction, and why does it matter?
The Maillard reaction is what produces the savory brown crust on seared meat, a cascade of chemistry between the amino acids in the meat's proteins and its natural sugars, triggered by high heat. It is not caramelization, which is sugar browning alone; Maillard is the protein-and-sugar reaction that gives roasted, seared, and toasted foods their deep, meaty, complex flavor.
It unfolds in three stages, and naming them explains why a proper sear tastes the way it does. First, amino acids and sugars combine in a colorless, odorless phase, nothing visible yet.
Second, an intermediate stage generates hundreds of new aromatic compounds, the roasted and nutty smells that fill the kitchen. Third, brown polymers called melanoidins form on the surface, the dark pigments that give seared meat its characteristic crust and color.
This is why a seared steak tastes profoundly different from a boiled or poached one cooked to the identical internal temperature. The interior is the same; the crust is an entirely new layer of flavor that only high, dry heat can build. References like Modernist Cuisine document the chemistry in depth, but the cook's takeaway is simple: no browning, no crust flavor.
What temperature do you actually need?
The Maillard reaction's rate climbs sharply between about 210°F and 250°F (100–120°C), reaching peak efficiency near 250°F. That sounds modest, but there's a catch that explains why you need a much hotter pan than those numbers suggest.
The surface of the meat has to be dry and well above the boiling point of water before browning can even begin. As long as there's moisture on the surface, evaporation pins the surface temperature at 212°F (water's boiling point) and holds it there until the water is gone.
Only once the surface dries out can it climb into the Maillard range. To get there fast, before the inside overcooks, you sear in a pan running far hotter than the reaction itself needs: typically 400°F to 500°F.
This is the core insight. You don't set the pan to 250°F; you blast it hot so the surface dries and crosses into the browning zone quickly, while the brief contact time keeps the interior from overcooking past where you want it. The hotter, drier, and faster the surface browning, the better the crust and the less gray, overdone band you get beneath it.
Which pan should you use, and why?
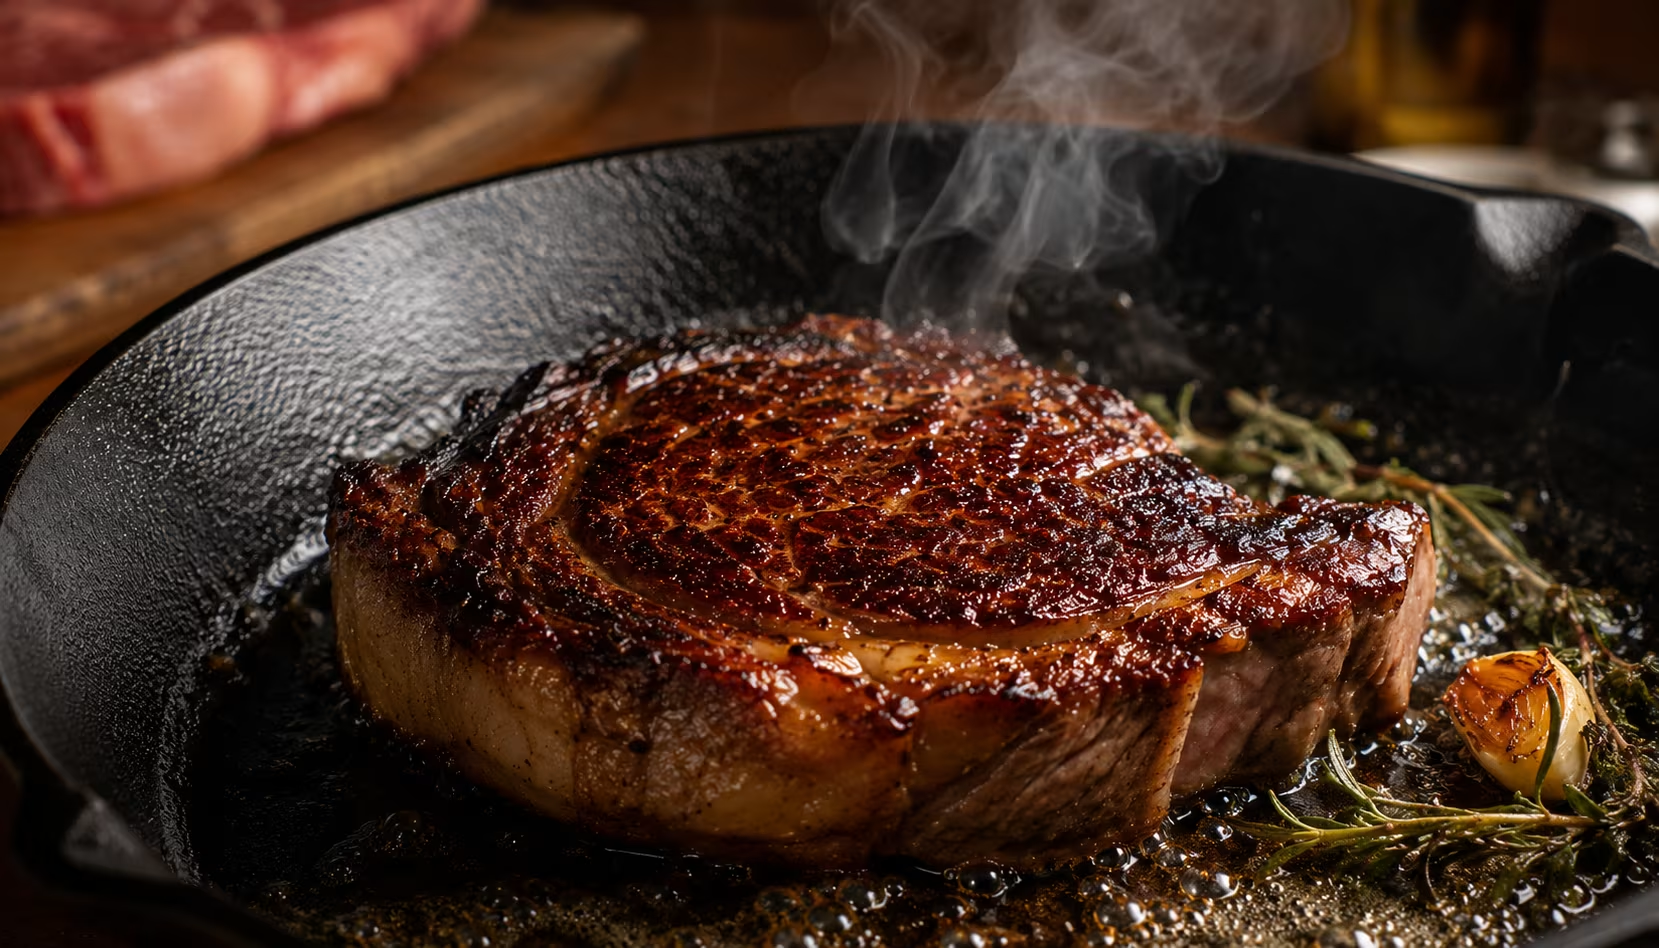
Pan choice is about two properties: heat retention and heat conduction. When cold meat hits a hot pan, it pulls heat out fast and the pan's surface temperature drops. A pan that holds and recovers heat keeps browning; a thin one stalls and the meat steams.
Cast iron is the home cook's best searing pan for exactly this reason. Its mass stores a large reservoir of heat and radiates it steadily, so when the steak lands, the surface temperature barely dips and recovers quickly. Carbon steel behaves similarly with a bit less mass and faster responsiveness: the choice of most restaurant lines. Heavy stainless steel (especially tri-ply with an aluminum core) sears well too and has the advantage of a light, fond-friendly surface that's easy to read for color.
What to avoid: nonstick pans for searing. Their coatings aren't rated for the high temperatures a real sear needs and can degrade, and the slick surface discourages the fond formation you want. Thin, lightweight pans of any material are the other trap: they don't hold enough heat to keep browning once cold meat hits them, so they steam. If you're deciding what cookware to invest in, a heavy skillet is one of the three pans every kitchen needs precisely because nothing else sears as well.
Whatever pan you choose, preheat it empty over medium-high to high heat for several minutes until it's genuinely hot, then add a thin film of high-smoke-point oil (grapeseed, refined avocado, or canola), not butter, whose milk solids burn at searing temperatures.
Why does most home searing fail?
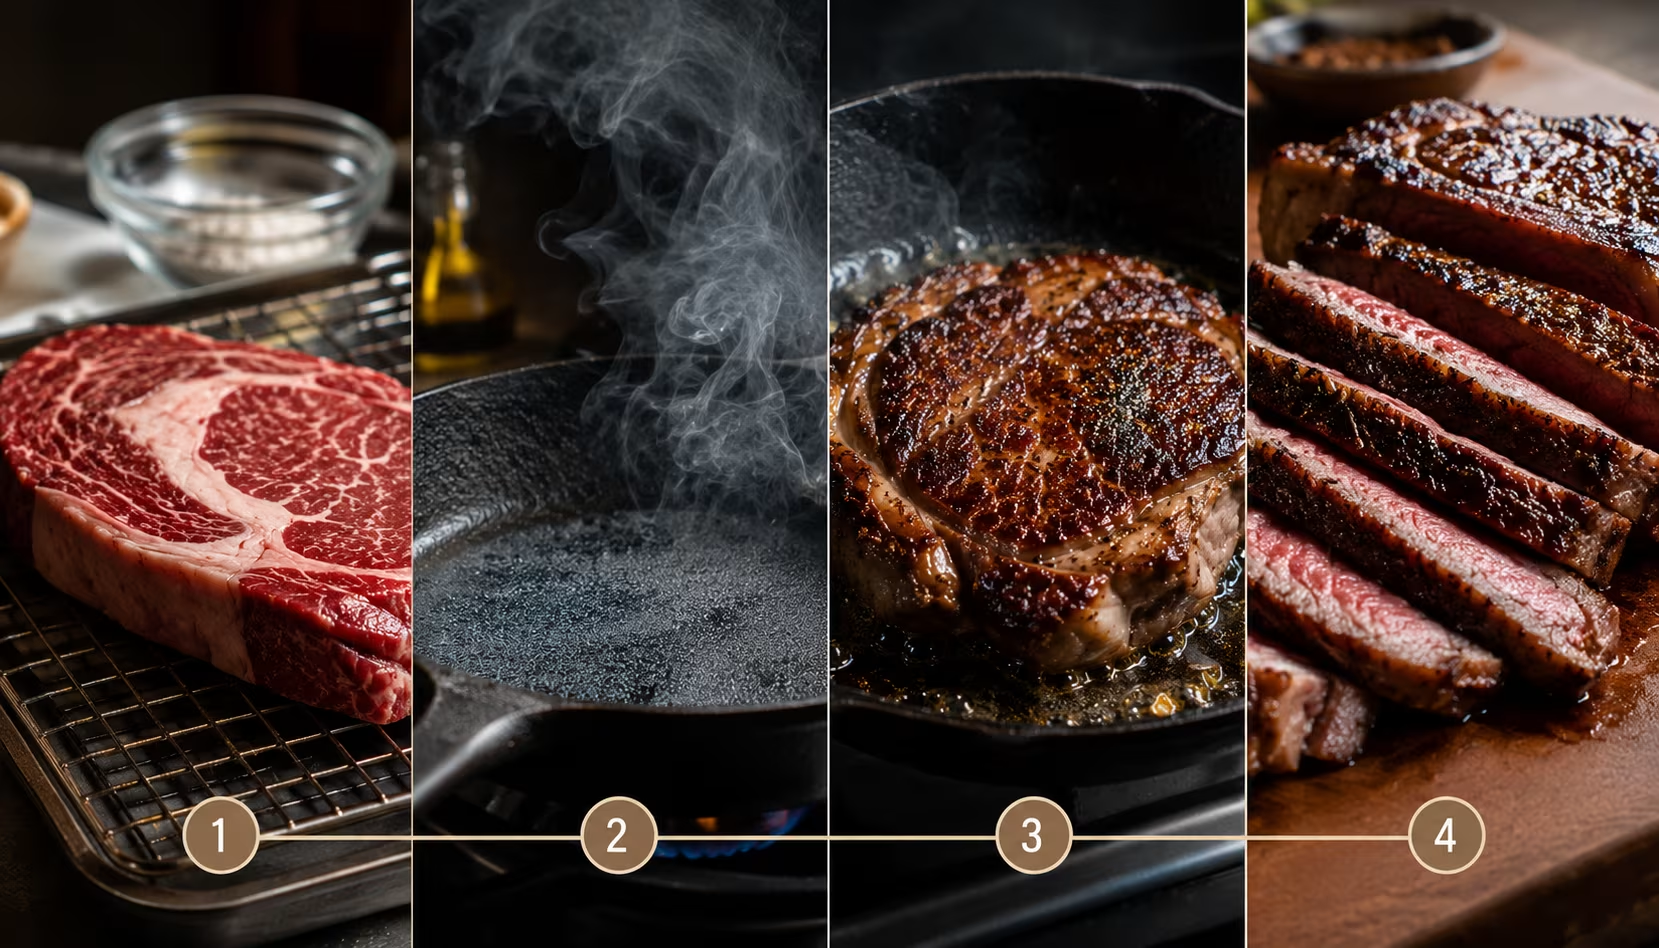
Almost every failed sear traces back to surface moisture, and there are three common ways water sabotages the crust.
The first is not drying the meat. Pat steaks, chops, and roasts thoroughly dry with paper towels right before they hit the pan. Better still, leave the meat uncovered on a rack in the fridge for an hour or overnight: the cold dry air dehydrates the surface so it browns almost on contact. A wet surface guarantees the pan spends its energy boiling off water instead of browning.
The second is a pan that isn't hot enough. Impatience is the enemy. If the pan hasn't fully preheated, the meat's surface never crosses the boiling-point barrier fast enough, and you get a gray exterior. The oil should shimmer and just begin to smoke before the meat goes in.
The third is crowding the pan. Pack in too many pieces and they collectively dump moisture and cool the pan below the searing threshold, and everything steams in its own juices. Leave space between pieces; sear in batches if needed.
A related mistake is moving the meat too soon: the crust needs uninterrupted contact to form and will actually release from the pan on its own once browned. If it's stuck, it isn't ready to flip; wait, and it lets go.
Does searing "seal in the juices"? (No.)
This is the most repeated myth in cooking, and it's simply false. Searing does not create a moisture-proof seal, and it does not "lock in" juices.
Controlled tests, most famously by food scientists writing for outlets like Serious Eats, show that seared and unseared roasts cooked to the same internal temperature lose comparable amounts of moisture. A seared crust is porous, not waterproof.
What searing actually does is build flavor and texture through the Maillard reaction; that's the entire point, and it's reason enough. The juiciness of your meat is controlled by something else: the final internal temperature and the rest. Overcook the interior and it dries out no matter how beautifully you seared it, because heat denatures the muscle proteins and squeezes water out.
The practical upshot changes how you sequence cooking. Since searing doesn't seal anything, you're free to use methods like the reverse sear for thick cuts: cook the meat gently in a low oven first until it's nearly at target temperature, then sear the dry, warm surface hard for under a minute to build the crust.
Because the surface is already dry and the interior is nearly done, the crust forms fast with almost no overcooked gray band beneath it. Letting the meat rest after cooking, meanwhile, lets the juices redistribute so they stay on the plate instead of flooding the board.
How do you sear different cuts and proteins?
The Maillard principles are universal, but the execution shifts with thickness, fat content, and how delicate the protein is. The variable that changes most is how you balance crust against a properly cooked interior.
Thick steaks and chops (over an inch). These are the ideal candidates for the reverse sear. Cook them low first (a 250°F oven until they're about 10–15°F below your target), then sear the dry, warm surface hard for under a minute a side.
Because the surface is already dry and the inside nearly done, the crust forms almost instantly with no thick gray band beneath. For a standard-thickness steak seared straight in the pan, get a hard crust on both faces, then use the rendered fat to baste with a knob of butter and aromatics for the last minute.
Thin cuts (under three-quarters of an inch). Here the danger is overcooking the interior before a crust forms, so the pan must be as hot as you can get it and the contact time short, sometimes just a minute or two per side. Dry surface and maximum heat are everything; there's no time to recover from a cool pan.
Chicken and pork. Skin-on chicken sears best skin-side down in a cool-to-medium pan that you bring up gradually, which renders the fat and crisps the skin without burning it before the meat cooks, different from the blast-it-hot approach for steak. These cook to a higher safe internal temperature, so manage the heat to avoid a burnt crust over a raw center.
Scallops and firm fish. Treat these like shrimp: bone-dry surface, very hot pan, a brief sear, and a hands-off approach so the crust sets before you flip. A wet scallop never browns; a dried one develops a gorgeous golden crust in 90 seconds. The same dry-surface rule that governs a great garlic butter shrimp sear applies identically here.
Across all of them, the constants hold: dry the surface, get the pan hot, don't crowd, and leave it alone until the crust releases on its own.
What do you do with the fond left in the pan?
After searing, the browned bits stuck to the pan bottom are called fond (French for "base") and they're concentrated Maillard flavor, the foundation of nearly every great pan sauce. Throwing out that pan is throwing out the best part.
To capture it, deglaze: with the pan still hot, pour in a splash of liquid (wine, stock, or even water) and scrape the bottom with a wooden spoon as it bubbles. The liquid dissolves the fond and lifts those caramelized fragments into the sauce.
From there you build: reduce the liquid to concentrate it, then finish with a knob of cold butter swirled in off the heat for body and shine. The whole sauce takes the time the meat needs to rest.
That reduction step is its own small skill, boiling a thin, watery deglaze down into something with real depth and cling, and it's worth learning in its own right; the mechanics of how to reduce a sauce turn pan drippings into restaurant-grade gravy. The same fond logic, scaled up and cooked low and slow, is also the heart of braising cheaper cuts into tender, deeply flavored dinners. Sear properly, save the fond, and a single pan gives you both a crust worth eating and a sauce worth pouring over it.
Common questions about searing
Fridge-cold or room temperature? Pat the meat dry and let it sit out 20 to 30 minutes so it cooks more evenly, but a dry surface matters more than the starting temperature. Cold, wet meat is the real enemy of a good crust.
Can I sear in olive oil? Use a refined high-smoke-point oil (refined avocado, grapeseed, or canola) for hard searing. Extra-virgin olive oil and butter burn at searing temperatures; add butter only at the end to baste.
Why does my meat stick to the pan? It isn't ready to flip. A proper crust releases on its own; if it's stuck, give it another minute. Sticking also signals the pan wasn't hot enough or had too little oil.
Sear before or after roasting? Either works, since searing doesn't seal in juices. For thick cuts, the reverse sear (roast low first, then sear hard) gives the best crust with the least overcooked gray band.
 Save
Save
0 Comments
No comments yet — start the conversation below.