
How to Really Caramelize Onions: The 45-Minute Version That Actually Works
Those '5-minute caramelized onions' recipes are lying. The real thing takes 45 minutes of patient low heat — here's the science and the method that actually delivers.
Almost every recipe that says "caramelize the onions in 5 minutes" is lying to you. Really caramelizing onions (cooking them down to a jammy, deep-brown, intensely sweet-savory tangle) takes 45 minutes to an hour of patient, low-and-slow cooking, and there is no genuine shortcut that produces the same result. What those quick recipes give you is sautéed or lightly browned onions, which are fine but taste nothing like the real thing.
True caramelized onions are one of the highest-value things you can cook: a single ingredient that transforms burgers, soups, sandwiches, pizzas, dips, and pasta with deep, mellow sweetness. You just have to give them the time they need.
This is the honest version: why it takes so long, the science of what's happening, and how to do it right so you stop wasting onions on the 10-minute method that never delivers.
How long does it really take to caramelize onions?
Plan on 45 minutes to an hour, and sometimes longer, 50 to 80 minutes for a large batch to reach deep, jammy brown. This is the single most important expectation to reset.
Onions cooked for 10 or 15 minutes are softened and maybe lightly golden, but they are sautéed, not caramelized. Real caramelization is a slow transformation that simply cannot be rushed without burning.
The reason recipes lie about this is that "caramelize the onions (5 minutes)" sounds achievable on a weeknight, while "stand at the stove for an hour" doesn't. But the flavor payoff of the real thing is so much greater that it's worth either committing the time or doing what experienced cooks do: making a big batch when you have the time and stashing it.
Heat is the lever, and the temptation is to crank it to speed things up. Resist.
High heat doesn't caramelize faster: it scorches the outsides to bitter while the insides stay raw, giving you burnt-tasting onions that are still sharp. The whole game is low-and-slow, gentle, steady heat with patience.
If your onions are browning in 15 minutes, your heat is too high.
What's actually happening when onions caramelize?
Two distinct chemical processes, both of which take time. Understanding them explains why patience is non-negotiable.
First, caramelization of the onions' natural sugars. Onions are surprisingly sugary: a medium onion holds around 4 to 5 grams of sugar, stored largely in chains of fructose. Long, slow cooking breaks these chains down into simple sugars and then caramelizes them, the same browning that happens to table sugar when heated, producing sweet, nutty, complex flavor compounds. This is a low-temperature process that unfolds gradually over the whole cooking time.
Second, the Maillard reaction between the onions' sugars and amino acids, which adds savory, roasted depth alongside the sweetness. Together, caramelization and Maillard browning are why finished caramelized onions taste simultaneously sweet, deep, and almost meaty: a flavor that raw or quickly cooked onions don't have.
Both reactions need time at moderate temperature to develop fully and evenly. Rush them with high heat and you skip straight to burning before the sugars have had a chance to break down and brown gently throughout. The transformation is also why the onions shrink so dramatically: they're packed with water that has to cook off (a huge pile of raw onions collapses to a small amount of jammy caramelized ones), and that water has to evaporate before real browning can begin.
What pan, fat, and heat should you use?
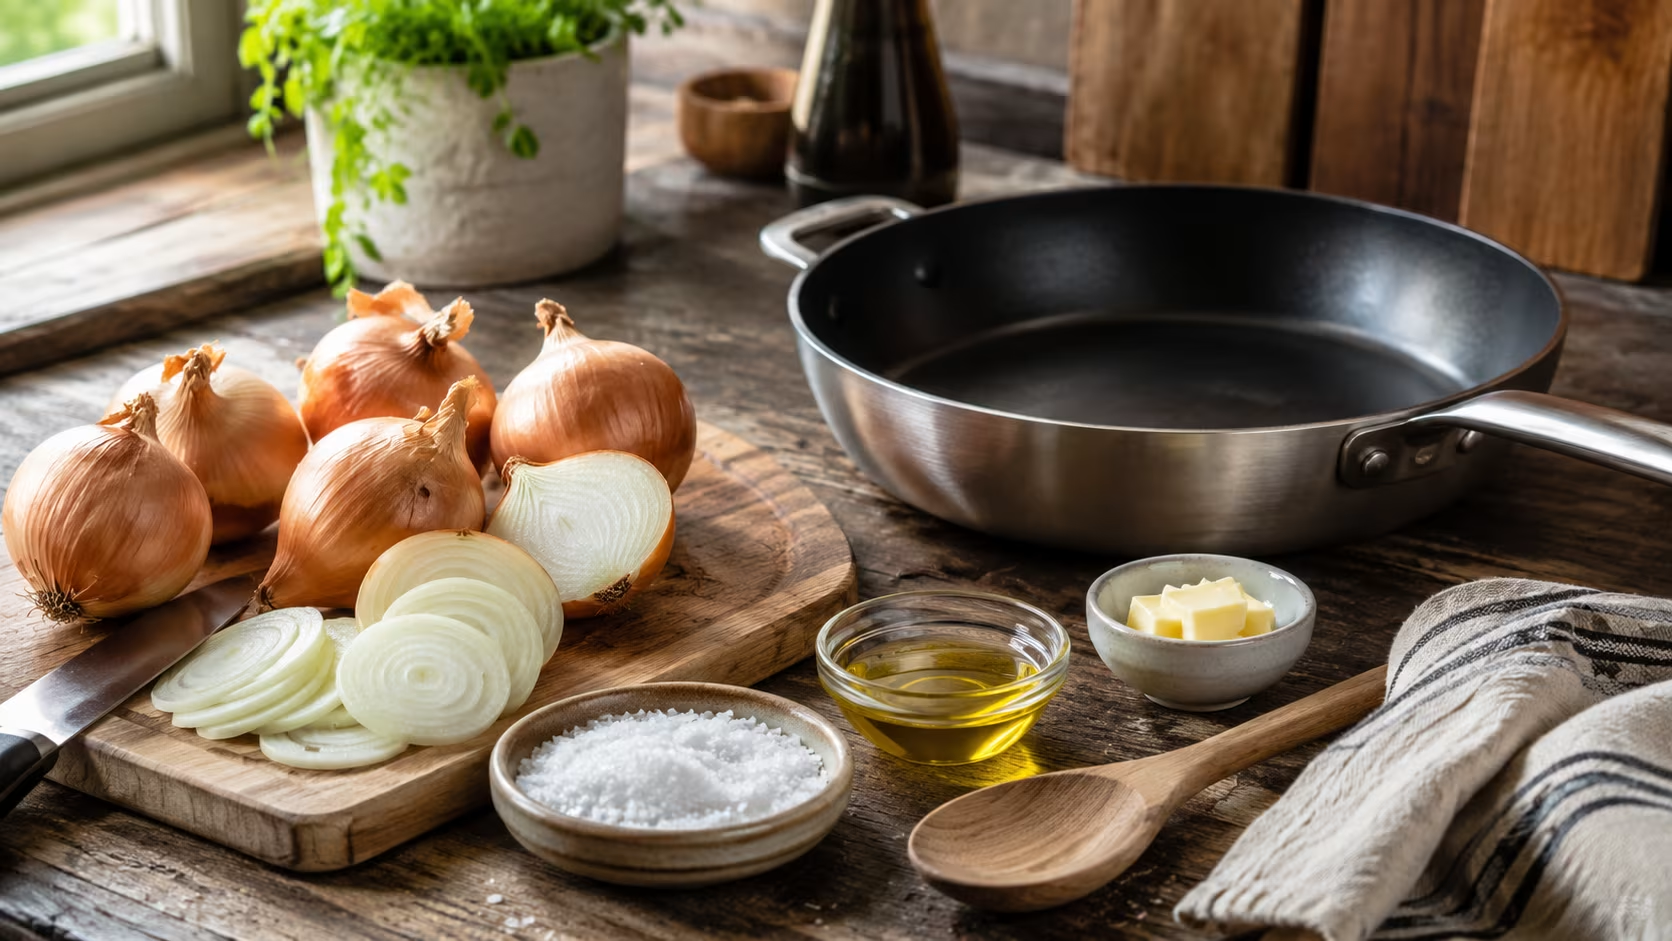
A wide, heavy-bottomed pan, a fat that won't burn, and medium-low heat. Each choice supports the slow, even cooking the process demands.
Use a wide skillet (cast iron or stainless, heavy-bottomed) so the onions spread in a relatively thin layer with lots of surface contact: crowding them in a small, deep pot makes them steam rather than brown. A heavy bottom distributes heat evenly and prevents hot spots that scorch.
For fat, butter, olive oil, or a mix all work; a combination of butter (for flavor) and oil (which raises the smoke point so the butter doesn't burn over the long cook) is a great default. You need enough fat to coat the onions and prevent sticking.
Slice the onions evenly, about a quarter-inch, so they cook at the same rate: uneven slices give you some burnt and some underdone. As for quantity, always make more than you think you need, because they shrink to a fraction of their raw volume.
On heat: a common approach is to start a bit higher (medium) for the first 8 to 10 minutes to soften the onions and drive off some water, then drop to medium-low or low for the long haul where the actual caramelizing happens. Add a pinch of salt early to help draw out moisture and speed the initial softening. From there, it's gentle heat and patience.
How do you stir, deglaze, and avoid burning?
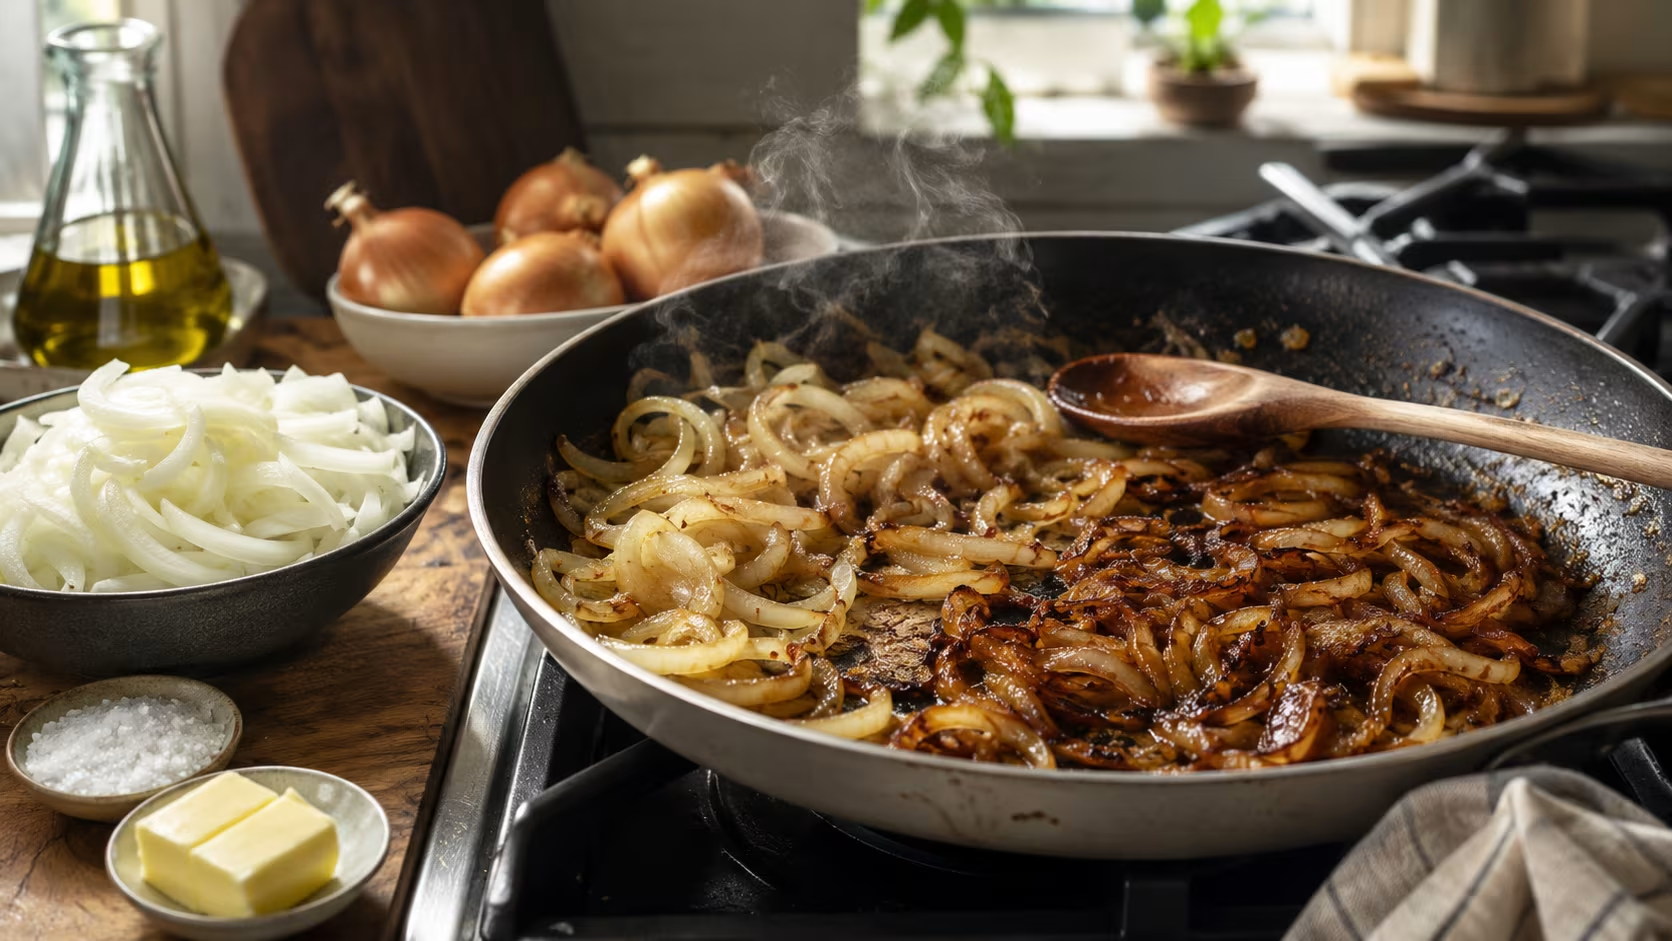
Stir regularly but not constantly, and use a splash of water to rescue and redistribute the flavor that builds on the pan. This is the active technique that keeps a 45-minute cook from turning into a scorched mess.
Stir every few minutes once the onions start browning: often enough to keep them from sticking and burning in spots, but not so constantly that you never let color develop. You want them to sit against the hot pan long enough to brown, then get moved before they scorch.
As they cook, you'll see browned bits (fond) forming on the bottom of the pan; that fond is concentrated flavor, not a problem. When it starts to build up and threaten to burn, add a small splash of water and scrape it up with your spoon, dissolving it back into the onions.
This deglazing trick, repeated as needed throughout the cook, is the secret to deep, even color without burning: it lifts and redistributes the caramelized flavor and adds moisture to slow any spots getting too dark.
If the onions are browning too fast or unevenly, lower the heat and add that splash of water or a knob more butter. Patience and these small water deglazes are what carry them all the way to deep, uniform, jammy brown. Toward the very end, some cooks add a splash of balsamic vinegar or a pinch of sugar for an extra layer, but with enough time good onions don't need help: their own sugar is plenty.
Why won't a "fast caramelized onion" method work?
Because every shortcut either produces something that isn't actually caramelized or risks burning. It's worth knowing the common hacks and their limits so you don't chase a result they can't deliver.
Adding baking soda does genuinely speed things up: its alkalinity accelerates the Maillard reaction, cutting the time noticeably. But it's a real trade-off: too much makes the onions mushy and gives them a slightly soapy, off taste, and the texture turns to mush rather than jammy strands.
A tiny pinch can help, but it's not a free lunch. Adding sugar makes them brown faster and sweeter but doesn't develop the same deep, complex savory flavor: you get sweet, lightly browned onions, not true caramelized depth.
Cranking the heat just burns them.
The honest truth is that the deep, mellow, complex flavor of real caramelized onions is a function of time at gentle heat, and there's no chemical trick that fully replicates it. The genuine "shortcut" experienced cooks use isn't a faster method.
It's batch cooking: make a large quantity when you have the hour, then refrigerate or freeze them in portions. That way the time investment happens once and you have caramelized onions on demand for weeks.
How do you store and use caramelized onions?
They keep beautifully, which is the key to making the time worthwhile. Store cooled caramelized onions in an airtight container in the fridge for about a week, or freeze them in small portions (an ice cube tray works perfectly) for several months. Because the hard part is done, you can pull out exactly what you need and stir it into a dish in seconds.
And the uses are endless. Pile them on burgers and steak; fold them into French onion soup (their entire reason for being); spread them on pizza or flatbread; stir them into pasta, risotto, or mashed potatoes; layer them in grilled cheese and sandwiches; fold them into dips, omelets, frittatas, and savory tarts; or use them to top crostini. A jar of caramelized onions in the fridge is one of those quiet upgrades that makes everyday cooking taste like more: the kind of high-leverage staple worth keeping alongside a well-built pantry.
Common caramelized onion questions
What onions are best? Yellow onions are the standard: a good balance of sugar and sharpness that caramelizes reliably. Sweet onions (like Vidalia) caramelize a touch faster and sweeter; red onions work but can look muddy. Yellow is the dependable default.
Can I do it in the oven or slow cooker? Yes. A slow cooker can caramelize a big batch over several hours almost hands-off (vent the lid toward the end to cook off moisture), and a low oven works too. Both are great for large, set-and-forget batches, though the stovetop gives you the most control.
Why are mine watery and not browning? They haven't cooked off their water yet, the pan is crowded, or the heat is too low. Give them time, use a wide pan, and nudge the heat up slightly until the moisture evaporates: browning only starts once the water is gone.
Do I cover the pan? Optionally, for the first 10 minutes, to speed the initial softening with trapped steam. But uncover for the long browning phase, because you need the moisture to escape for caramelization to happen.
Commit to the 45 minutes once (or better, make a big batch and freeze it) and you'll have one of cooking's great flavor multipliers on hand whenever you want it. The only secret is the one nobody wants to hear: time.
What can rescue or vary a batch?
A few moves expand what you can do with the technique. If the onions are sticking and the fond on the pan threatens to burn, that splash-of-water deglaze isn't just damage control: repeated throughout the cook, it's how you build deep, even color. Toward the end, a splash of balsamic vinegar, sherry, red wine, or stock deglazes the pan one last time and adds a layer of acidity or depth; this is essentially the first step of French onion soup, where caramelized onions are deglazed with wine and simmered in beef stock.
If you've genuinely scorched a few bits (black, not just deep brown), pick them out before they spread bitterness through the batch, lower the heat, and carry on. And always make more than you think you need: they shrink to a fraction of their raw volume, so a huge mound becomes a modest jar.
What's the difference between caramelized and sautéed onions? Time and color. Sautéed onions are cooked just until soft and translucent or lightly golden (5–10 minutes); caramelized onions are cooked far longer (45+ minutes) until deeply browned, jammy, and sweet. Recipes that promise "caramelized" in 10 minutes mean sautéed.
Can I caramelize onions in butter or do I need oil? Either works; a mix is ideal. Butter adds flavor but its milk solids can burn over a long cook, so combining it with oil (which has a higher smoke point) lets you get the butter flavor without scorching. Pure olive oil is also fine and common.
Do caramelized onions reheat well? Yes. They reheat beautifully and even taste better made ahead, since the flavors settle.
Gently warm them in a pan or microwave, or stir frozen portions straight into a hot dish. This make-ahead durability is what makes the time investment worthwhile.
 Save
Save
0 Comments
No comments yet — start the conversation below.