

How to Braise Meat: The Method That Turns Cheap Cuts Into Dinner Party Food
Braising turns the cheapest, toughest cuts into fork-tender, deeply savory food by melting collagen into gelatin. Sear, add liquid, cover, and let time do the work.
Braising is the technique that takes the cheapest, toughest, most unpromising cuts of meat (chuck, short rib, shank, oxtail, pork shoulder) and turns them into fork-tender, deeply savory dinner-party food. It seems like magic the first time: a slab of gristly, sinewy beef that would be inedible if you grilled it becomes meltingly tender after a few hours in a low oven.
But it's not magic, it's chemistry: the slow conversion of tough collagen into silky gelatin, and once you understand the mechanism, you can braise almost anything without a recipe. It's also nearly hands-off: sear, add liquid, cover, and let the oven do the work.
This is the method explained from the inside out, so you understand not just the steps but why each one matters. Master it and a $6 cut feeds a table better than a $30 steak.
What does braising actually do to tough meat?
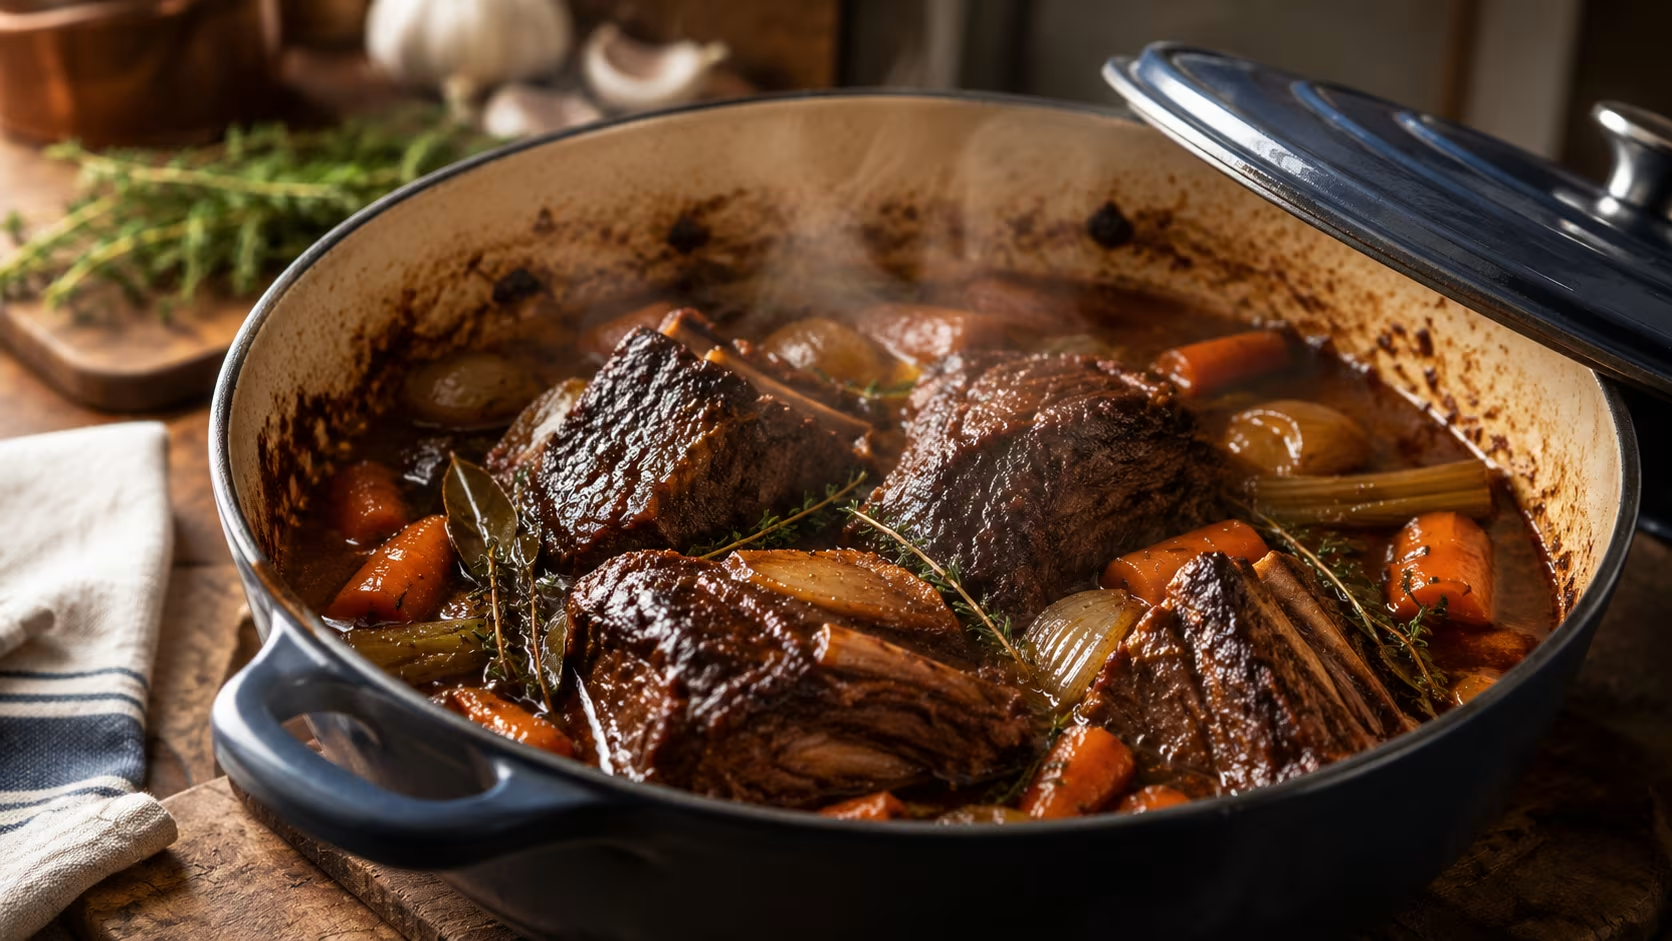
It converts collagen into gelatin. Tough cuts come from hard-working muscles (the shoulder, the shank, the chest) that are full of connective tissue made largely of collagen.
Collagen is what makes these cuts chewy and tough when cooked quickly. But hold the meat at a low temperature in moisture over a long time, and that collagen slowly breaks down and dissolves into gelatin: the same substance that makes stock set and gives braises their luxurious, lip-coating richness.
This transformation is the entire point of braising, and it explains every rule of the technique. It happens slowly, in the range of roughly 160 to 200°F internal, held over a long period, typically two to four hours depending on the cut.
You can't rush it with higher heat; cook too hot and the muscle fibers seize and squeeze out moisture faster than the collagen melts, giving you meat that's both dry and tough. Low and slow is non-negotiable because the collagen needs time at the right temperature to dissolve.
This is also why tough cuts are actually better for braising than tender ones. A lean tenderloin has little collagen, so braising just dries it out.
A collagen-rich chuck roast or short rib, by contrast, gets more tender and more succulent the longer it goes, as the dissolving gelatin bastes the meat from within. The cuts nobody wants to grill are exactly the ones that braise into something extraordinary.
Why do you sear the meat before braising?
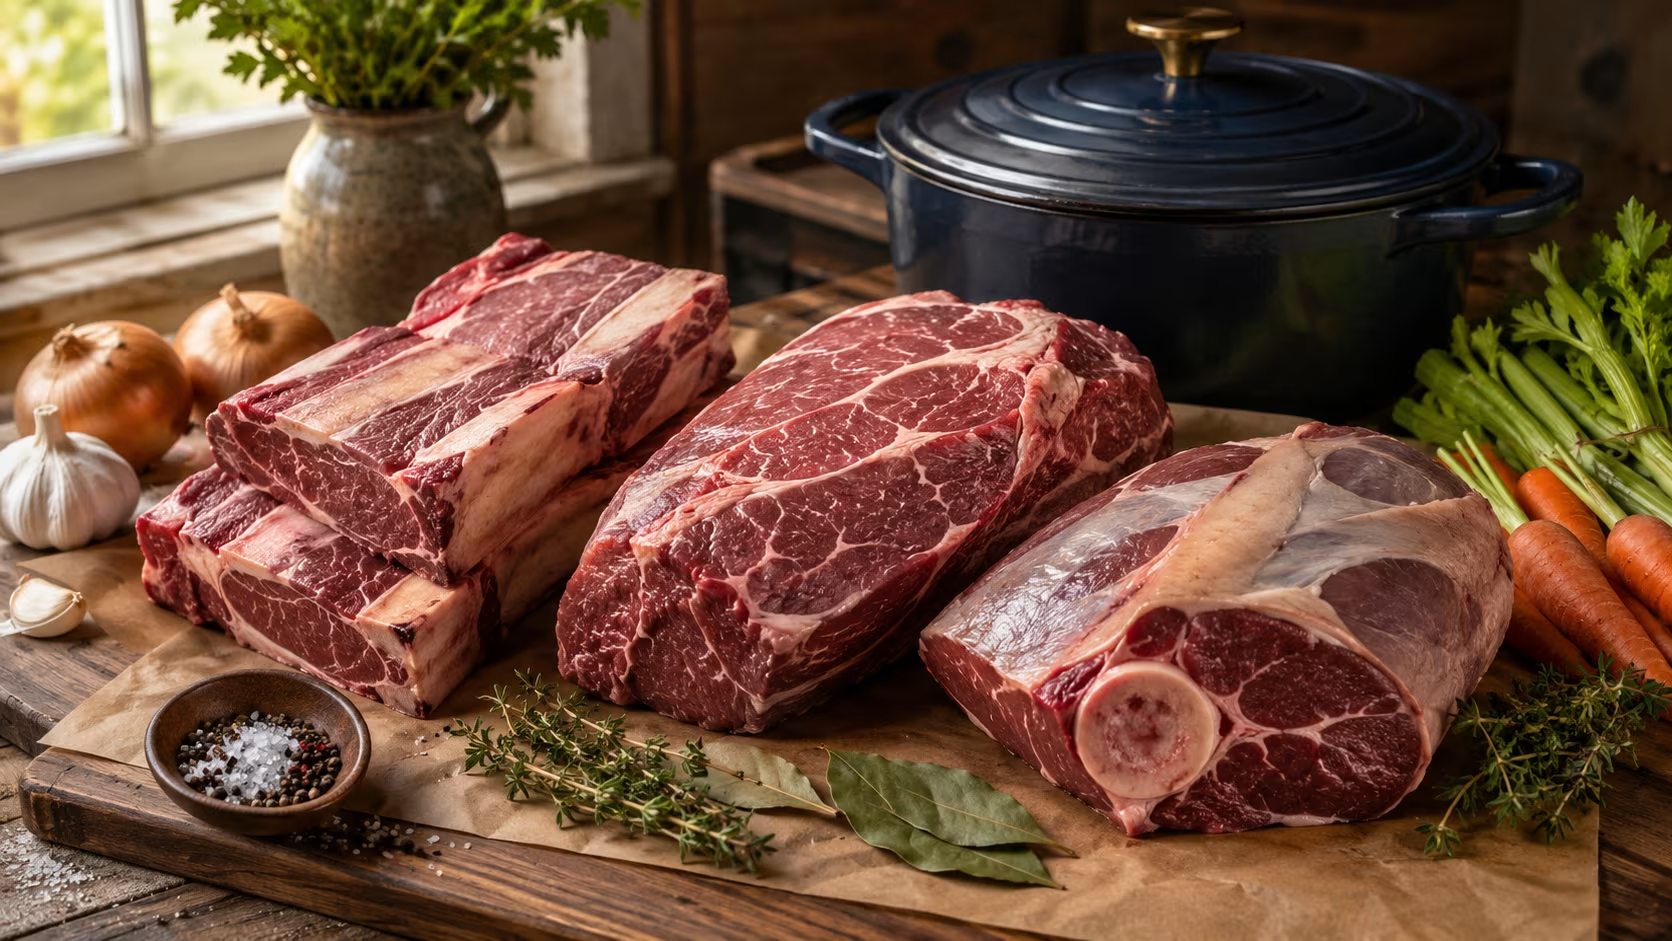
For flavor, not to "seal in juices": that's a myth. Searing the meat hard before it goes into the braising liquid builds a deep brown crust and a layer of fond (the browned bits stuck to the pot) through the Maillard reaction, and that browning creates hundreds of savory flavor compounds that the long, gentle braise then distributes throughout the dish.
Pat the meat very dry, season it, and sear it in batches in a hot, heavy pot (a Dutch oven is ideal) until deeply browned on all sides. Don't crowd the pot: crowded meat steams instead of browning, the same rule that governs searing any meat properly.
The goal is a real crust, not gray meat. Then remove the meat, and use the same pot to brown your aromatics (onions, carrots, celery, garlic) scraping up the fond as they release their moisture.
That fond is liquid gold. When you add the braising liquid and scrape the bottom of the pot, all those concentrated browned bits dissolve into the sauce, building a depth of flavor you simply can't get from meat dropped raw into liquid.
Searing is the difference between a braise that tastes deep and complex and one that tastes like boiled meat. The whole base of flavor (seared meat, browned aromatics, dissolved fond) is built before the long cook even begins.
How much liquid, and how hot?
Less liquid than you'd think, and lower heat than you'd guess. The meat should be partially submerged, not drowned: liquid coming roughly halfway to two-thirds up the sides of the meat, not covering it entirely. This is braising, not boiling or making soup.
The reason for partial submersion is that braising is a combination of moist and dry heat. The part of the meat in the liquid cooks gently in the moisture; the part above the liquid roasts and concentrates in the steamy, enclosed environment under the lid, developing more flavor than fully submerged meat would.
Cover the pot to trap that steam and keep the environment moist. Suitable liquids include stock, wine, beer, canned tomatoes, or a combination, anything flavorful, and homemade stock makes a real difference if you have it, which is one more reason to know how to make stock from scratch.
Then cook it low. A 300 to 325°F oven is the classic braising range: the gentle, even heat surrounds the pot and holds the meat in that collagen-melting zone without boiling, which would toughen the muscle.
The oven is better than the stovetop for this because the heat is even and ambient rather than fierce from below, making it almost impossible to scorch. On the stovetop, keep it at the barest simmer, with just an occasional bubble breaking the surface.
A hard boil is the enemy: it agitates and toughens the meat. Braise until the meat is fork-tender, meaning a fork slides in and twists with no resistance; that's the signal the collagen has fully converted, and it matters more than any clock time.
How do you finish a braise into something special?
The braising liquid is now full of dissolved gelatin and concentrated flavor, but it's often thin and a bit fatty straight out of the oven, so you finish it. Remove the tender meat and keep it warm, then turn the braising liquid into a proper sauce.
Skim or spoon off the excess fat that has risen to the surface (or, even better, chill the braise overnight and lift off the solidified fat, which is why braises taste even better the next day). Then reduce the liquid on the stovetop: boil it down to concentrate the flavor and thicken it to a glossy, lightly clinging sauce, the same reduction technique that finishes any pan sauce.
The dissolved gelatin gives braising liquid a natural body that thickens beautifully as it reduces, no flour or cornstarch required. Taste and adjust salt and acid: a splash of vinegar or a squeeze of lemon at the end brightens the deep, rich flavors.
Braises also famously improve overnight. Made a day ahead, the flavors meld, the fat is easy to remove cold, and the meat reabsorbs the sauce, so braising is the ideal make-ahead dish for entertaining. Serve the meat with its reduced sauce over something that soaks it up: mashed potatoes, polenta, egg noodles, or crusty bread.
What are the most common braising mistakes?
- Using a lean, tender cut. Lean cuts have no collagen to convert and just dry out. Use tough, collagen-rich cuts: chuck, short rib, shank, shoulder.
- Cooking too hot. A hard boil toughens the meat and dries it out. Keep it at a bare simmer or a 300–325°F oven.
- Skipping the sear. You lose the deep browned flavor and the fond. Sear hard and brown the aromatics.
- Too much liquid. Drowning the meat makes soup, not a braise. Liquid should come halfway to two-thirds up.
- Pulling it too early. Underdone braised meat is tough. Cook until truly fork-tender, however long that takes.
- Serving the liquid un-reduced. Thin, fatty braising liquid tastes weak. Skim and reduce it into a real sauce.
Common braising questions
Slow cooker, Dutch oven, or oven? All work, since all provide low, steady, moist heat. A Dutch oven in the oven gives the best flavor (great searing, gentle even heat, easy reduction after). A slow cooker is the most hands-off but won't brown, so still sear the meat in a separate pan first.
Can I braise without a recipe? Yes. That's the beauty of understanding the method.
Sear a tough cut, brown aromatics, add liquid halfway up, cover, and cook low until fork-tender. The specific liquids and seasonings are yours to choose.
Why is my braised meat tough even after hours? Usually it's not done yet: collagen-rich cuts need to cook past the stage where they feel tough into the fork-tender zone, which can take longer than expected. Keep cooking; it will get there. Cooking too hot can also seize the meat, so lower the heat and give it time.
Which cuts are best? Beef chuck, short ribs, brisket, shank, and oxtail; pork shoulder and pork shank; lamb shoulder and shank. These cheap, hard-working cuts have the most collagen and reward braising the most.
Learn this one technique and you unlock an entire category of cooking: cheap cuts, big flavor, mostly hands-off, and better the next day. Sear hard, keep it low and moist, cook to fork-tender, and reduce the sauce, and you'll turn the least glamorous meat at the butcher into the best thing on your table.
What can you braise besides beef?
Once you understand the method, almost every cuisine's most beloved comfort dishes turn out to be braises, which is the best argument for learning it. Pork shoulder braised low and slow becomes carnitas, pulled pork, or ragù. Lamb shanks braise into fall-off-the-bone tenderness, the heart of dishes like a Moroccan tagine. Chicken braises beautifully too: coq au vin is chicken braised in wine, and countless braised-thigh dishes rely on the same gentle, moist heat (though chicken needs less time than tough red meat). Oxtail, short ribs, and veal shank (osso buco) are braising royalty.
The method translates across all of them with minor adjustments for cooking time: collagen-rich cut, hard sear, browned aromatics, partial liquid, cover, low heat until fork-tender, then reduce the sauce. The seasonings and liquids change (red wine and pearl onions for bourguignon, tomatoes and gremolata for osso buco, warm spices and dried fruit for a tagine) but the underlying technique is identical. Learn it once and you can cook your way around the world's comfort food.
Why are braises better the next day?
Braises famously taste even better reheated, and there are two real reasons. First, time lets the flavors continue to meld: the meat keeps absorbing the sauce, and the sauce keeps integrating the rendered fat and dissolved gelatin.
Second, chilling the braise overnight solidifies the fat on top, so you can simply lift it off, leaving a cleaner, more concentrated sauce. This makes braising the ideal make-ahead dish for entertaining: cook it a day or two early, refrigerate, skim the fat, and gently reheat, and it's better than it would have been fresh, while freeing your day-of entirely.
Store braised dishes in their sauce, airtight, for up to four days in the fridge, or freeze for a couple of months; the gelatin-rich sauce protects the meat from drying out. Reheat gently on the stovetop or in a low oven until hot through, loosening with a splash of stock or water if the sauce has set too thick.
How long does braising take? Most tough cuts need two to four hours, depending on size and cut: short ribs and chuck roughly two and a half to three and a half hours, larger or tougher cuts longer. Go by texture, not the clock: it's done when a fork slides in and twists with no resistance. Rushing it with higher heat just toughens the meat.
Do I need a Dutch oven? It's ideal (heavy, oven-safe, with a tight lid for even, moist heat and great searing) but any heavy oven-safe pot with a lid works, and a slow cooker handles the long cook if you sear the meat separately first.
What should I serve it with? Braised meat wants a soft, starchy partner to soak up its rich, gelatin-thickened sauce: mashed potatoes, soft polenta, egg noodles, creamy grits, or plenty of crusty bread. A sharp green salad or a bright, acidic vegetable on the side cuts through the richness and keeps the plate from feeling heavy.
 Save
Save

0 Comments
No comments yet — start the conversation below.