

72-Hour Pizza Dough: The Cold-Ferment Method That Makes Restaurant-Quality Crust
Pizzeria crust isn't about the oven — it's about time. A 72-hour cold ferment builds deep flavor and an airy crust from five minutes of work. Here's the method.
The difference between a good homemade pizza and a great one isn't the oven or the toppings — it's time. 72-hour pizza dough uses a long, cold fermentation in the refrigerator to develop the deep, complex, subtly tangy flavor and the light, airy, blistered crust that defines real pizzeria pizza. The dough itself takes five minutes of hands-on work; the rest is patience while the fridge does the work for you.
A same-day dough is fine, but it tastes flat and one-dimensional next to a dough that's had three days for enzymes to break down starches into flavor and for the gluten to organize itself into a strong, extensible structure. Here's the method, the baker's percentages that make it repeatable, and the science of why cold time transforms flour, water, salt, and yeast into something extraordinary.
Why does a 72-hour cold ferment make better pizza?
Because long, slow, cold fermentation develops flavor and texture that fast fermentation simply can't. Two things happen during those three days in the fridge, and both are improvements you can taste.
First, flavor. Over the long ferment, natural enzymes in the flour have time to break down starches into simpler sugars and proteins into amino acids, building a much wider range of flavor compounds. The result is a crust with a subtle tang, a deeper, wheatier, almost nutty complexity, and a real depth of flavor — versus the bland, yeasty taste of a quick dough. The slow, cold rise also lets the yeast produce flavor compounds gradually rather than just gas, so you're fermenting for taste, not just lift.
Second, texture. The slow, cold rise gives the gluten network time to fully hydrate and organize without aggressive kneading, producing a dough that's strong yet extensible — it stretches thin without tearing and bakes up with an open, airy, well-blistered crumb and a crisp exterior. Cold fermentation also makes the dough easier to handle and the timing forgiving: cold dough is less sticky and slack, so it shapes more easily, and you can bake anytime in a window of days.
The trade-off is only time, and it's hands-off time at that. This is the same principle behind why long-fermented breads like sourdough taste so much deeper than fast ones — patience, not effort, is the active ingredient.
What are the baker's percentages for 72-hour dough?
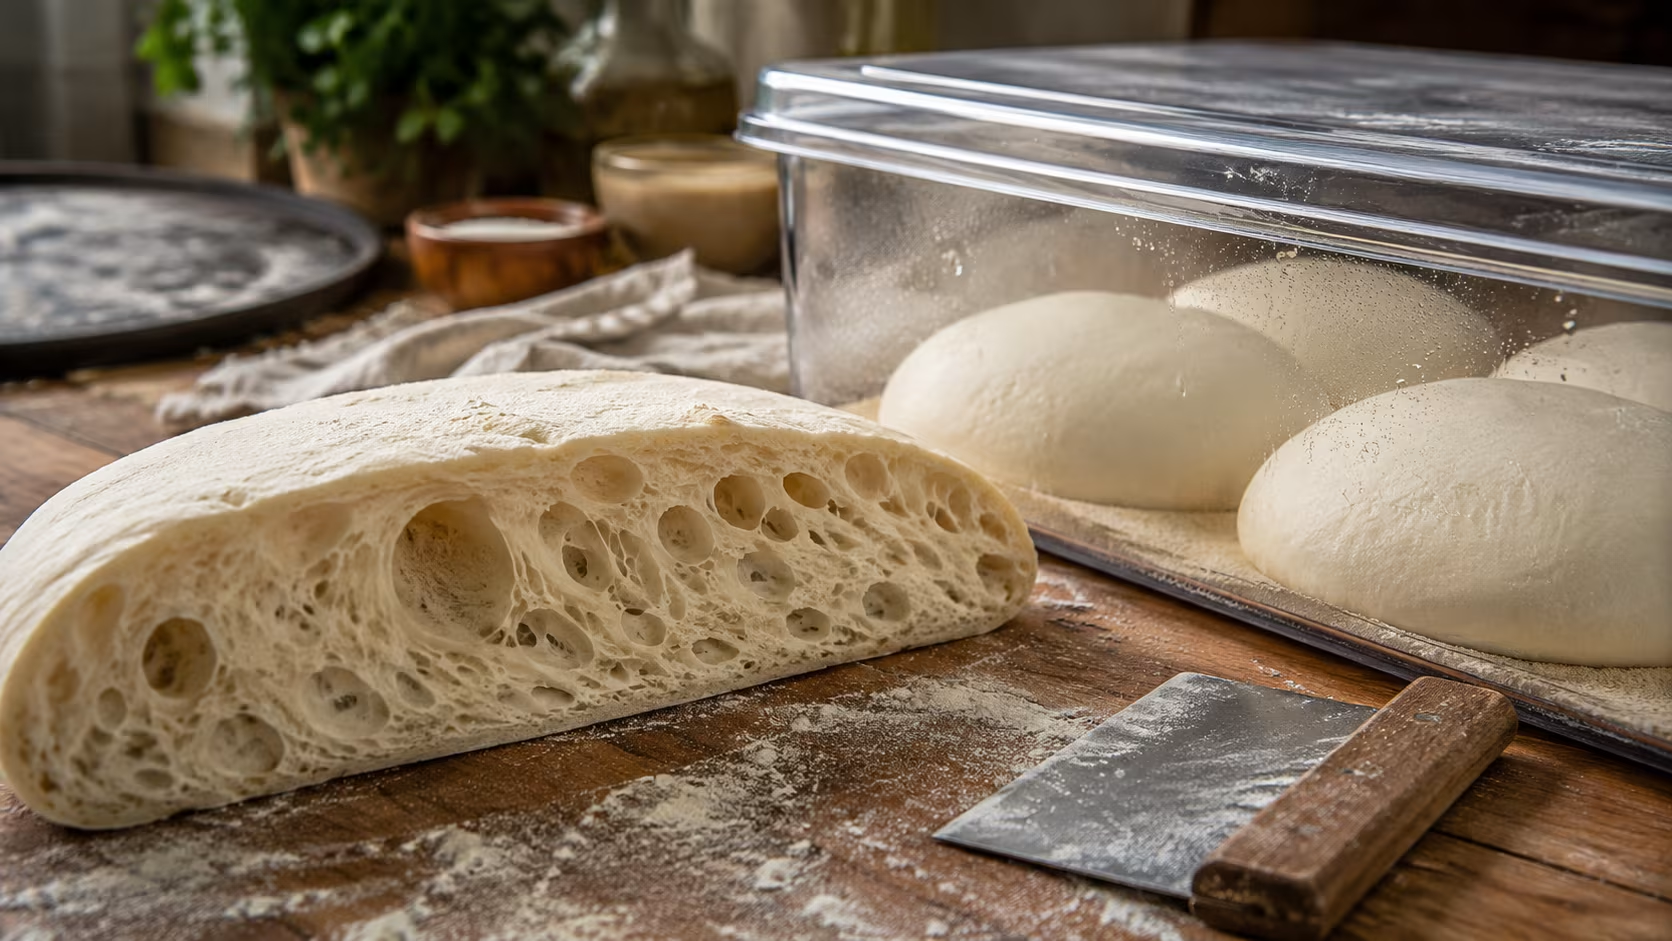
Pizza dough is best understood in baker's percentages — every ingredient expressed as a percentage of the flour weight — because it makes the recipe scalable and repeatable. A reliable Neapolitan-style formula for a long cold ferment:
- Flour: 100% (the base everything else references)
- Water: 62–68% (hydration; ~65% is a versatile sweet spot)
- Salt: 2.5–3%
- Yeast: 0.1–0.2% instant dry yeast (a tiny amount — this is key for a long ferment)
In real numbers, for about four 250 g dough balls: roughly 600 g flour, 390 g water (65%), 16–18 g salt (~3%), and just 1 g instant yeast (~0.17%). Weighing in grams with a scale is essential — pizza dough is a ratio, and volume measurements are too imprecise to hit these percentages reliably. A cheap kitchen scale is the most important tool here.
The standout number is the tiny amount of yeast. For a 72-hour ferment you use only about a tenth to a fifth of a percent of yeast, because over three days even that minuscule amount multiplies and slowly leavens the dough. Use a normal quick-dough quantity of yeast and the dough would over-ferment and collapse long before 72 hours. Low yeast plus long cold time is the whole equation — the yeast works slowly in the cold, developing flavor without overproofing.
On flour: bread flour or Italian "00" flour, with their higher protein, build the strong gluten structure needed for a chewy, extensible crust. A stronger flour (higher protein/"W" value) can handle the full 72 hours without breaking down; a weaker all-purpose flour is better fermented for a shorter time (24–48 hours) so it doesn't go slack.
How do you make the dough, step by step?
The active work is minimal — this is essentially a no-knead dough that builds its strength through time and a few folds.
Mix (Day 1): Dissolve the tiny amount of yeast in the water. Combine with the flour and mix until there's no dry flour left, then let it rest 20–30 minutes (an autolyse).
Add the salt and mix it in. The dough will be shaggy and rough — that's fine.
Instead of kneading, do a few sets of stretch-and-folds over the next hour (fold the dough over itself in the bowl every 15–20 minutes, 2–3 times), which builds gluten strength gently. Cover the bowl.
Bulk and ball: Let the dough sit at room temperature for an hour or two to start fermenting, then divide it into individual dough balls (one per pizza), shape each into a tight, smooth ball, and place them in a covered, lightly oiled container with space to expand.
Cold ferment (Days 1–3): Refrigerate for 24 to 72 hours. The longer it goes (up to 72 with a strong flour), the more flavor develops.
The dough balls will slowly rise and relax. This is the hands-off magic; you do nothing but wait.
Before baking: Take the dough balls out and let them come to room temperature for 1 to 2 hours before shaping — cold dough is stiff and resists stretching, while room-temperature dough is relaxed and extensible.
How do you shape and bake it like a pizzeria?
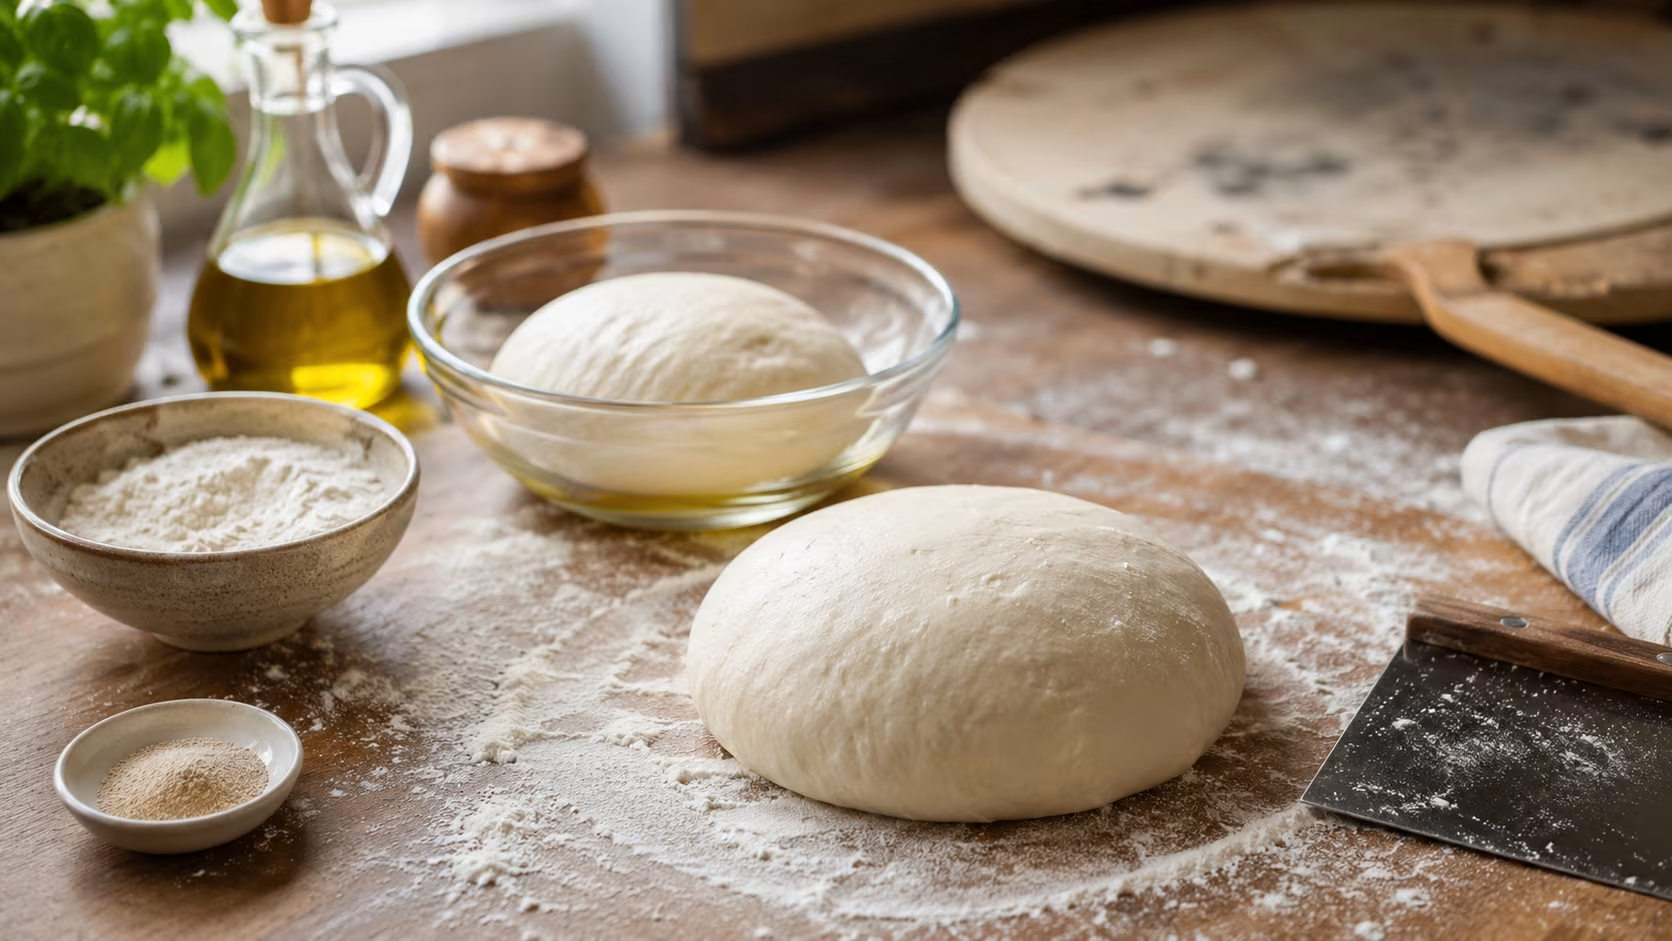
Two rules: stretch, don't roll, and bake as hot as you possibly can. Both are what separate a pizzeria crust from a flat, dense homemade one.
Stretch by hand, never with a rolling pin. Gently stretch the room-temperature dough ball from the center outward with your hands (and gravity), leaving the outer rim untouched to form the cornicione (the puffy edge). A rolling pin presses out all the gas bubbles you spent three days developing, giving you a flat, dense, cracker-like crust instead of an airy, blistered one.
Hand-stretching preserves those bubbles, which puff up in the oven into a light, open crust with the leopard-spotted char of good pizza. Work on a floured (or semolina-dusted) surface and be gentle; well-fermented dough stretches easily without tearing.
Bake screaming hot. Real pizza ovens hit 800–900°F; home ovens top out far lower, so the move is to maximize what you have. Preheat a pizza steel or stone in the oven at its highest setting (often 500–550°F) for a full 45 minutes to an hour — the steel or stone stores intense heat and blasts the bottom of the pizza, giving you a crisp, charred base in a few minutes rather than a pale, soggy one.
Launch the topped pizza onto the hot surface (a peel and a dusting of semolina help it slide). For even more char, finish under the broiler for the last minute or two to blister the top.
The combination of a long cold ferment and a screaming-hot stone is how you get genuinely pizzeria-quality crust from a home kitchen.
What are the most common pizza dough mistakes?
- Too much yeast for the ferment time. Standard yeast quantities over-ferment and collapse a 72-hour dough. Use only 0.1–0.2% for the long cold ferment.
- Measuring by volume, not weight. Pizza dough is a precise ratio; use a scale and grams.
- Rolling the dough out. A rolling pin crushes the gas bubbles. Always hand-stretch.
- Cold dough straight from the fridge. It's stiff and tears or springs back. Let it warm 1–2 hours first.
- Not preheating the stone/steel enough. A cold or underheated surface gives a pale, soggy base. Preheat 45+ minutes at max temperature.
- Too-wet, unmanageable dough too soon. If you're new, start around 62–65% hydration rather than 70%+, which is harder to handle.
Common 72-hour pizza dough questions
Can I ferment for less than 72 hours? Yes — even 24 hours of cold ferment is a big improvement over same-day dough, and 48 hours is excellent. 72 hours (with a strong flour) maximizes flavor, but anywhere in the 24–72 hour range works; just match longer times to stronger, higher-protein flour.
What flour should I use? Bread flour or Italian "00" flour for their higher protein and strong gluten. "00" gives a classic Neapolitan tenderness; bread flour gives a sturdy, chewy crust. All-purpose works for shorter ferments but goes slack over a full 72 hours.
Can I freeze the dough balls? Yes — after the cold ferment, freeze individual dough balls in oiled bags. Thaw overnight in the fridge and bring to room temperature before shaping. It's a great way to keep ready-to-bake dough on hand.
Do I need a pizza oven? No — a home oven maxed out with a preheated steel or stone, finished under the broiler, gets you remarkably close. The steel/stone and the high heat matter far more than a dedicated pizza oven for home results.
Mix the dough in five minutes, let the fridge do three days of work, hand-stretch it, and bake it on a screaming-hot stone, and you'll pull out a crust with the flavor, char, and airy chew you thought required a wood-fired oven. The only skill it really demands is planning ahead — start the dough on Tuesday for Friday's pizza night.
How do you top and finish the pizza?
Restraint is the rule: less is more on a thin, well-fermented crust. A light layer of simple sauce (good canned tomatoes, crushed with salt — no need to cook them first for a Neapolitan style), a moderate amount of cheese, and a few quality toppings beat a heavy, overloaded pie that steams the crust soggy and won't cook through. Overloading is the most common home mistake; the dough you spent three days on can't crisp under a wet pile of toppings.
For cheese, fresh mozzarella (torn and patted dry, since it's wet) or a low-moisture mozzarella melts beautifully; finish with a little grated Parmigiano. Add delicate items like fresh basil or arugula after baking so they don't scorch.
Drizzle with good olive oil as it comes out of the oven. If you're using very wet toppings, par-bake the crust for a minute or two before adding them.
Bottom line: mix in five minutes, cold-ferment 24 to 72 hours for deep flavor and an airy crumb, hand-stretch (never roll), top lightly, and bake on a screaming-hot preheated steel or stone. The long cold ferment plus high heat is the whole secret to pizzeria-quality crust at home — and it asks for planning, not skill.
Can I use this dough for focaccia or other breads? Yes — a similar high-hydration, long-fermented dough makes excellent focaccia (press it into an oiled pan, dimple, top, and bake) and the principles carry to many lean breads. The cold-ferment-for-flavor approach is broadly useful across baking.
What if the dough over- or under-ferments?
Reading the dough matters more than the clock. Over-fermented dough (left too long, or with too much yeast) looks slack, deflated, and bubbly to the point of collapse, smells sharply boozy or sour, and tears easily when stretched — it has exhausted its structure. If you catch it early, punch it down, re-ball, and bake soon. Under-fermented dough is tight, springs back aggressively when you try to stretch it, and bakes up dense and bland — it just needs more time at room temperature to relax before shaping, or a longer ferment next time.
The fix for both is calibrating yeast to time: a 72-hour ferment needs only that tiny 0.1–0.2% of yeast, while a 24-hour ferment can take a bit more. When in doubt, less yeast and more time gives more flavor and more margin for error than more yeast and less time.
Bottom line: five minutes of mixing, 24 to 72 hours of hands-off cold fermentation, gentle hand-stretching, light toppings, and a screaming-hot preheated steel or stone deliver a crust with the flavor, blister, and airy chew of a real pizzeria — no special oven required, just the patience to start the dough a few days ahead.
 Save
Save



0 Comments
No comments yet — start the conversation below.