

The Science of Chocolate Chip Cookies: How to Get the Exact Texture You Want
There's no single best chocolate chip cookie — just the one you want. Learn what each ingredient does and you can engineer chewy, crispy, thick, or thin at will.
There's no single "best" chocolate chip cookie — there's the texture you want, and the science of chocolate chip cookies is really a set of dials you can turn to get there. Chewy or crispy, thick or thin, cakey or dense: each is the predictable result of a few specific choices about sugar, fat, flour, leavening, and time.
Once you understand what each ingredient actually does, you stop following recipes blindly and start engineering the exact cookie you crave. The same dough, tweaked deliberately, can come out as a thin, crackly, crisp disc or a thick, gooey, chewy mound.
Here's how each variable works and how to dial in your perfect cookie.
How do sugars control texture (chewy vs. crispy)?
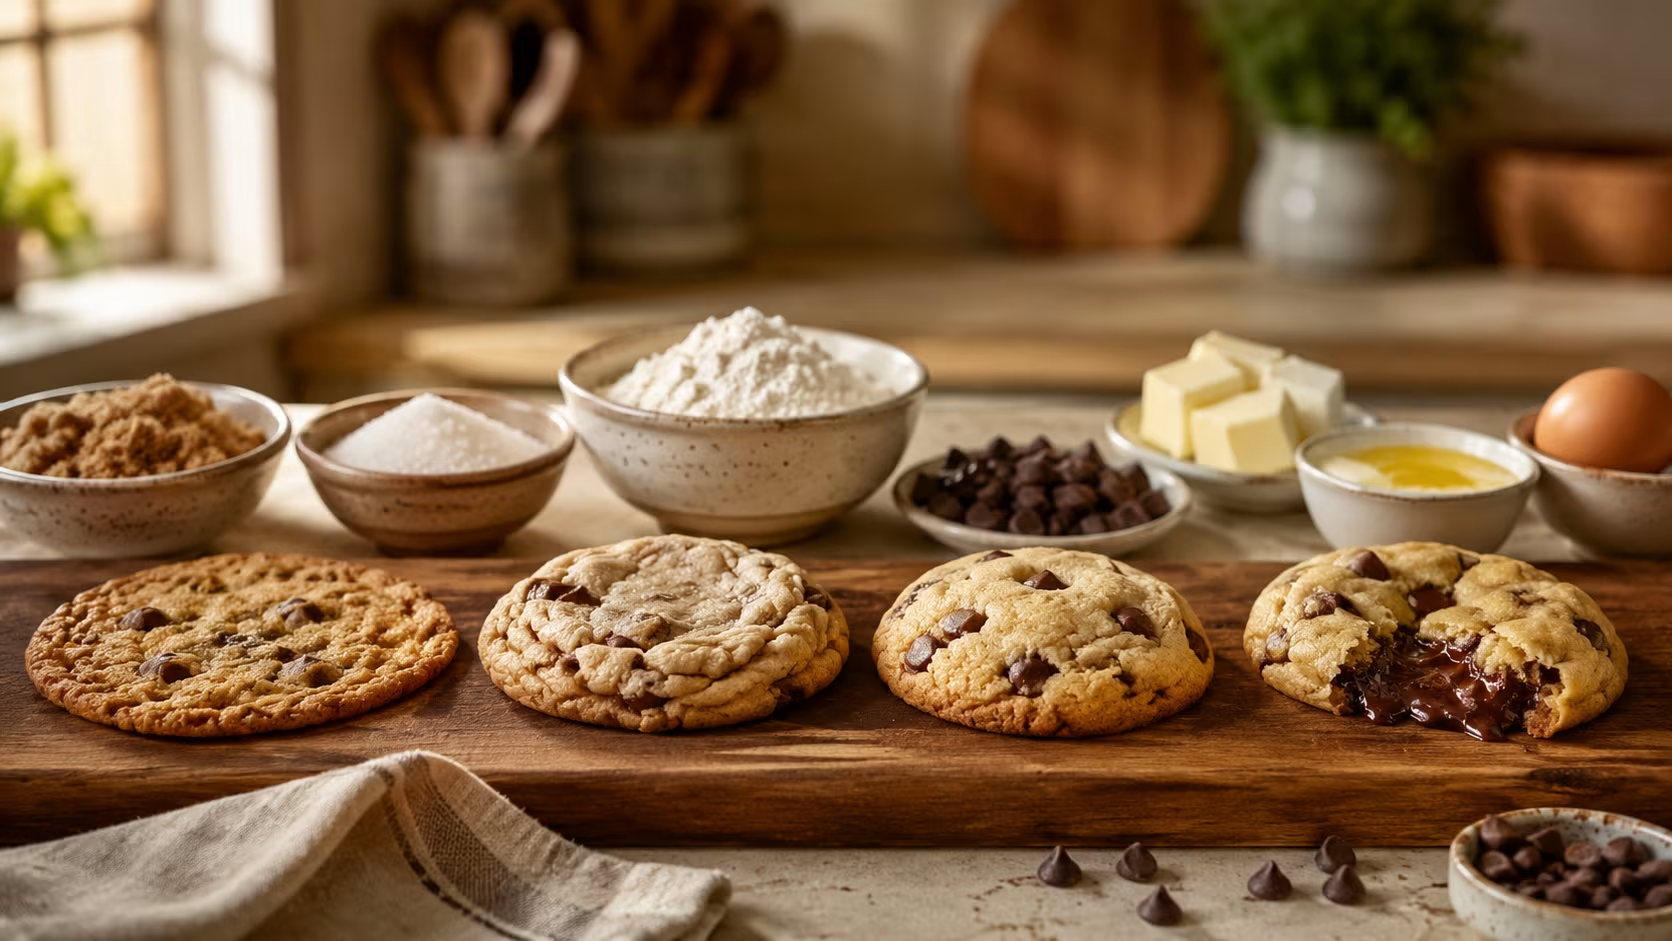
The ratio of brown sugar to white sugar is the biggest lever for chewy versus crispy, because the two sugars behave completely differently. This is the first dial to learn.
Brown sugar contains molasses, which is acidic and hygroscopic — it attracts and holds moisture. More brown sugar means a moister, softer, chewier cookie with a deeper, caramel-butterscotch flavor, and the acidity also reacts with baking soda to affect spread and browning. White (granulated) sugar, by contrast, promotes crispness and spread — cookies made with more white sugar bake up thinner, crispier, and with crackly tops. So the dial is simple: more brown sugar = chewier and softer; more white sugar = crispier and thinner.
Most recipes use a blend to balance the two, because all brown sugar can make a cookie that struggles to hold together while all white sugar makes it flat and brittle. Want a chewier cookie?
Shift the ratio toward brown sugar (and use dark brown, which has more molasses, for even more chew and butterscotch flavor). Want crispier?
Shift toward white. This single adjustment, holding everything else constant, noticeably changes the result — it's the easiest experiment to run.
Sugar also affects spread: sugar liquefies in the oven before setting, so more sugar generally means more spread. The type and amount of sugar is doing a lot of quiet work in every cookie.
What does the butter do, and does temperature matter?
The butter's temperature and how you incorporate it changes the cookie's structure dramatically — creamed, melted, or browned each give a different result. Fat is the second major dial.
Creaming softened butter with sugar (the standard method) beats air into the butter, creating tiny air pockets that give the cookie lift and a lighter, slightly cakier, more tender texture. Over-creaming incorporates more air and can make cookies puffier but also crisper and less chewy. Melted butter, used instead, eliminates that aeration — the dough is denser and the cookies come out chewier and flatter, because there are no air pockets to provide lift. So if you want chewy and dense, melt the butter; if you want lighter and a bit cakey, cream it.
Browned butter (beurre noisette) is a flavor move: melting and cooking butter until its milk solids toast to nutty brown adds a deep, caramelized, nutty complexity that's become the hallmark of "gourmet" cookies. Note that browning removes some water from the butter, which affects texture (often chewier), so browned-butter recipes are usually formulated for it.
The key insight: butter is mostly fat with about 15–20% water, and that water turns to steam in the oven, contributing to spread and texture. How you treat the butter — softened and creamed, melted, or browned — determines how much air and water are in play, which is why it's such a powerful variable. The same dough recipe made with creamed versus melted butter produces visibly different cookies.
Baking soda or baking powder — what's the difference here?
They're different leaveners that affect spread, browning, and texture differently, and many cookie recipes use baking soda specifically for its effect on color and spread. Understanding the distinction lets you control both lift and how brown your cookies get.
Baking soda is pure sodium bicarbonate, an alkaline (basic) leavener that needs an acid to react. In cookie dough, it reacts with the acidic brown sugar, producing carbon dioxide that creates spread and a more open, coarse crumb.
Crucially, baking soda is alkaline, and an alkaline environment promotes the Maillard browning reaction — so baking soda makes cookies browner, with a richer, toastier, more "baked" flavor, and encourages them to spread. More baking soda = more spread and more browning.
Baking powder contains baking soda plus its own built-in acid (and a buffer), so it doesn't need external acid and produces a more controlled, upward lift. It tends to make cookies puffier and more cakey, with less spread and less browning, and keeps them paler. Some recipes use a combination to balance spread and lift.
So the leavening dial: use baking soda for cookies that spread, brown deeply, and have a chewy, coarse texture (the classic chocolate chip cookie); lean on baking powder (or a mix) for puffier, lighter, paler, more cakey cookies. Swapping or adjusting them changes both the look and the texture.
Why does chilling the dough matter so much?
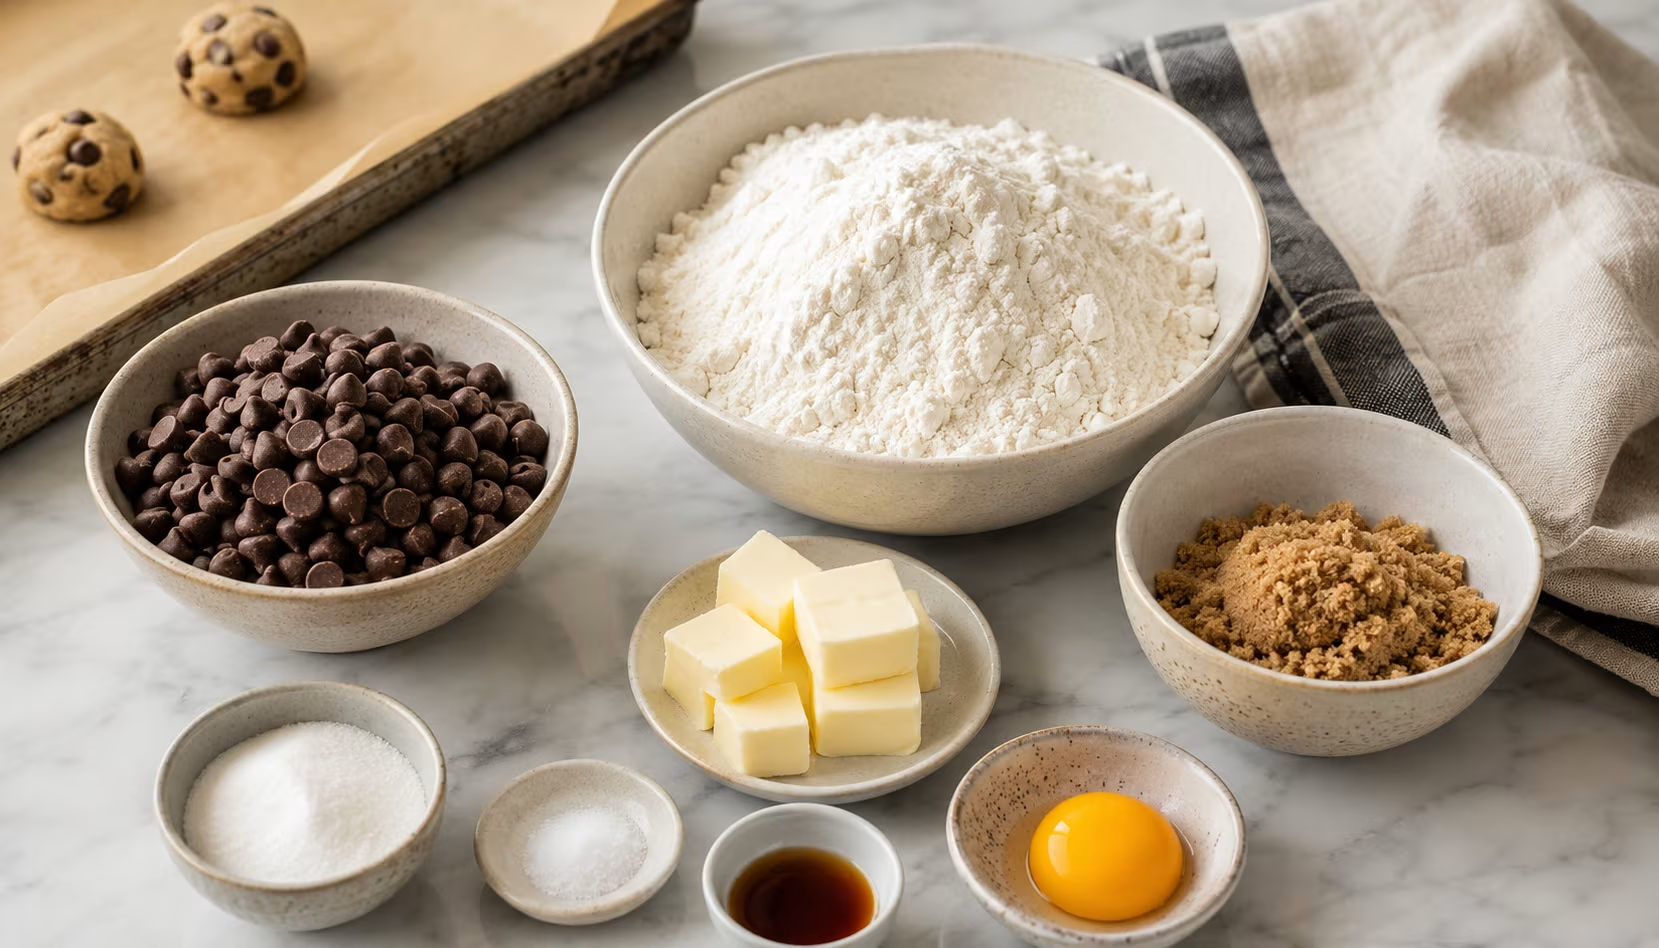
Chilling the dough — ideally for 24 hours or more — improves both flavor and texture, and it's the step that separates good cookies from great ones. It does several things at once, all positive.
Texture: Chilling solidifies the butter, so the cookies spread more slowly and less in the oven, baking up thicker and chewier rather than thin and flat. It also lets the flour fully hydrate — the moisture in the dough gets absorbed evenly by the flour and starches over time — which produces a more uniform, chewy-in-the-middle, crisp-at-the-edges texture and a drier dough that browns better. Flavor: Resting the dough, especially for a full 24 hours, lets the ingredients meld and the enzymes begin breaking down starches, deepening the flavor into something richer and more butterscotch-y and complex (the same long-rest principle behind better bread and pizza dough).
Even an hour of chilling helps, but the classic finding — popularized by serious cookie research — is that a 24-hour (or up to 72-hour) rest produces a noticeably better cookie in both flavor and texture than baking the dough immediately. The practical move: make the dough, refrigerate it overnight or longer, then bake. If you're impatient, chill at least 30–60 minutes so the butter firms up and the cookies don't spread into greasy puddles.
This is why bakery cookies often taste deeper than home ones baked on a whim — they rest the dough. It costs nothing but planning ahead.
How do you dial in thick-and-chewy vs. thin-and-crispy?
Now combine the dials. Each target texture is a specific recipe of choices, and knowing them lets you engineer your ideal cookie:
For thick, chewy, gooey cookies: more brown sugar than white; melted (or browned) butter for density; a higher proportion of flour (and bread flour instead of all-purpose adds extra protein for more chew); baking soda for browning; an extra egg yolk (yolks add fat and richness for chew, while whites add structure and dryness); and a long chill so they spread less and bake thick. Pull them from the oven slightly underbaked — the centers set as they cool, staying gooey.
For thin, crispy cookies: more white sugar; creamed or even slightly extra butter for spread; a touch less flour; and bake them a bit longer at a slightly lower temperature so they spread fully and dry out into crisp, crackly discs. Less chilling allows more spread.
Other dials: flour type (bread flour's higher protein = chewier; cake flour = more tender/crumbly; all-purpose = middle), eggs (more yolks = chewy and rich; more whites = drier and crisper/cakier), and baking temperature (hotter and shorter = soft centers with set edges; lower and longer = more even crisping). The beauty is that these are predictable — change one variable, hold the rest, and you'll see exactly what it does. A kitchen scale makes this experimentation reliable, since baking is a ratio and small differences matter, which is one reason a scale earns its place in any kitchen gear kit.
A reliable base recipe and how to tweak it
Start from a balanced base and adjust toward your preference. A classic, dependable chocolate chip cookie: cream softened butter with a blend of brown and white sugar, beat in eggs and vanilla, then fold in all-purpose flour, baking soda, and salt, and finally the chocolate. Chill the dough, then bake at around 350–375°F until the edges are set and golden but the centers still look slightly underdone, and let them finish setting on the hot pan.
From that base, turn the dials toward your target: shift to more brown sugar and add a yolk and a longer chill for chewier; more white sugar and a longer bake for crispier; brown the butter for deeper flavor; swap in some bread flour for more chew. Use good chocolate — chopped from a bar rather than chips — for puddles and streaks of melted chocolate rather than uniform morsels, and finish with a little flaky salt on top to make the sweetness and caramel notes pop. Don't overbake; cookies continue cooking on the hot sheet after they come out, so pulling them when the centers look barely set is the secret to a soft, gooey middle.
Common cookie science questions
Why do my cookies spread into flat puddles? Usually butter too warm/melted with no chilling, too much sugar, or too little flour. Chill the dough, make sure your butter isn't over-softened, and check your flour measurement (weigh it). More flour and a cold dough reduce spread.
Why are my cookies cakey when I wanted chewy? Too much flour, too much leavening (especially baking powder), over-creaming (too much air), or too many egg whites. For chewy, reduce air (melt the butter), favor brown sugar and egg yolks, and use baking soda rather than powder.
Does the type of chocolate matter? Yes for flavor and look — chopped good-quality chocolate gives molten pools and lets you control sweetness, while chips hold their shape (they contain stabilizers). A mix of dark and milk, or chopped bar plus flaky salt, makes a more interesting cookie.
Can I freeze cookie dough? Absolutely — scoop the dough into balls and freeze, then bake straight from frozen (adding a minute or two). This also conveniently builds in the beneficial chilling, and means fresh cookies on demand.
Treat the chocolate chip cookie as a system of dials rather than a fixed recipe, and you gain something better than any single "best" recipe: the ability to produce exactly the cookie you want, every time, and to understand why it came out the way it did.
How do you store and freeze cookies and dough?
Both dough and baked cookies store well, which makes fresh cookies on demand realistic. Freeze the dough as pre-scooped balls on a tray, then bag them once solid; bake straight from frozen, adding a minute or two. This conveniently builds in the beneficial chilling, so frozen-then-baked cookies often come out even better. Baked cookies keep in an airtight container for several days; add a slice of sandwich bread to the container to keep them soft (they absorb its moisture), or leave it out if you prefer them to firm up.
To re-soften day-old cookies, a few seconds in the microwave brings back the gooey center. And if you bake a tray and want them all to look bakery-perfect, swirl a larger cookie cutter around each one right out of the oven (while still soft) to round the edges — a small trick for picture-worthy results.
Bottom line: the chocolate chip cookie isn't one recipe but a set of dials — sugar ratio, butter handling, leavening, flour, and chill time. Learn what each does, change one variable at a time, weigh your ingredients, and chill the dough, and you can produce exactly the cookie you want, understand why, and reproduce it every time.
 Save
Save


0 Comments
No comments yet — start the conversation below.